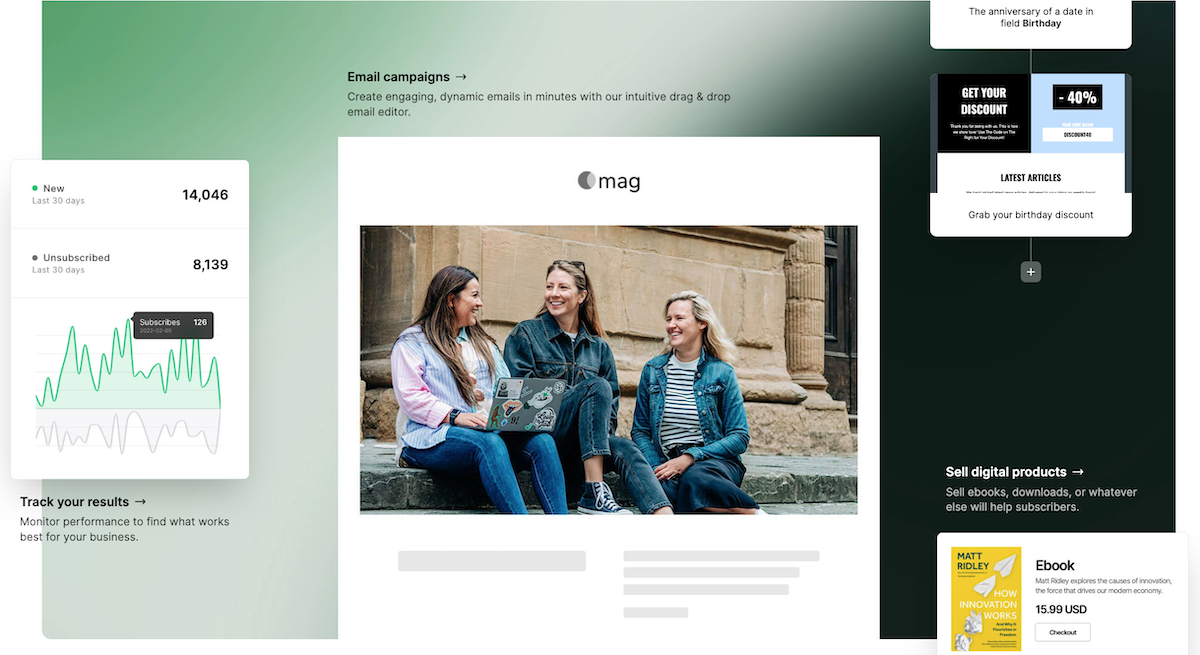
Did you know that you can create landing pages with MailerLite? MailerLite is a full-fledged, capable, and an easy-to-use email marketing platform that also doubles up as a landing page software and also a no code website builder.
Further, you get to use dynamic content, create subscription forms or opt-ins, launch pop-ups, use sticky bars, and more.
Watch the video
In this post, let’s figure out how to create landing pages with MailerLite:
Login to MailerLite, Click on “Sites”
Login to MailerLite. If you don’t have an account, start for free with MailerLite now
After you login and set your brand up (including completing the questionnaire and filling up details of your profile), click on “sites”.
From the drop down, choose landing pages.
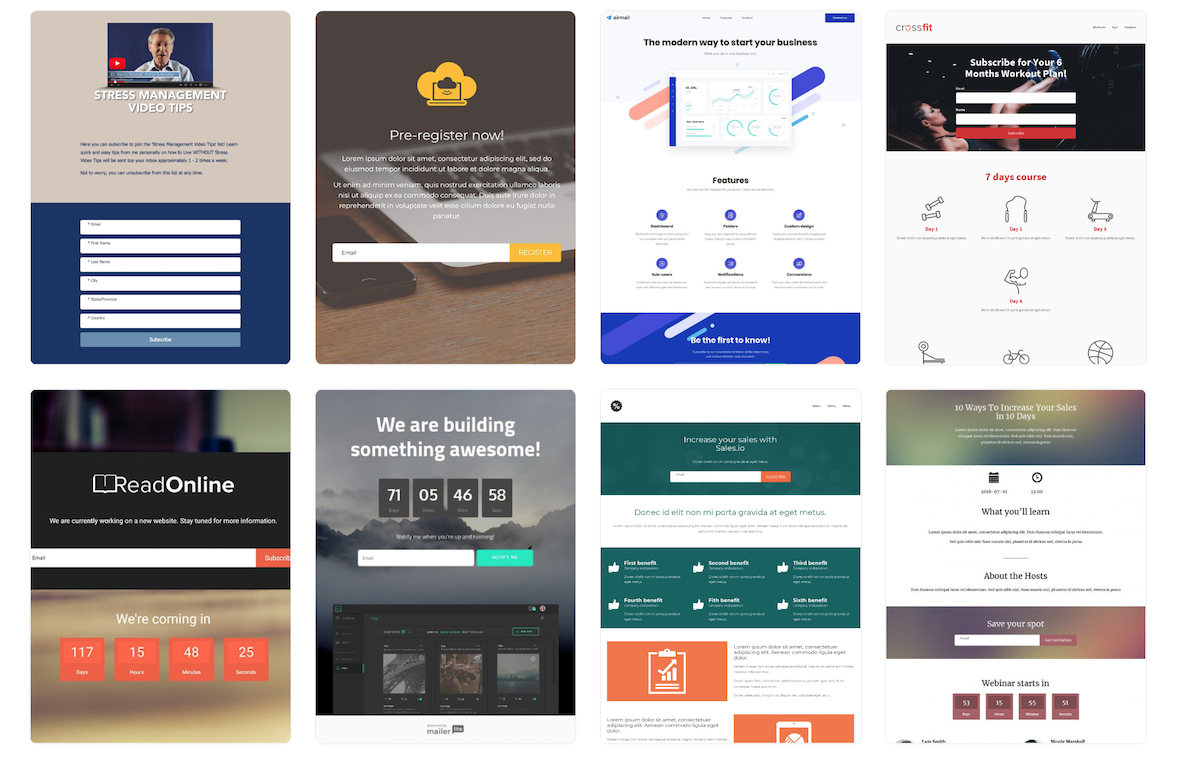
Pick a Template [or start from Scratch]
Once you choose “landing pages” as the option, you’ll be presented with several landing page templates. Pick the appropriate template.
You can completely change the way the template looks with edits and changes. Swap out the logo, change the background colors, change the form fields, pick a color of choice for the subscription button, add new sections to your landing page, and more.
If nothing works, start from scratch.
Select Elements To Make Changes
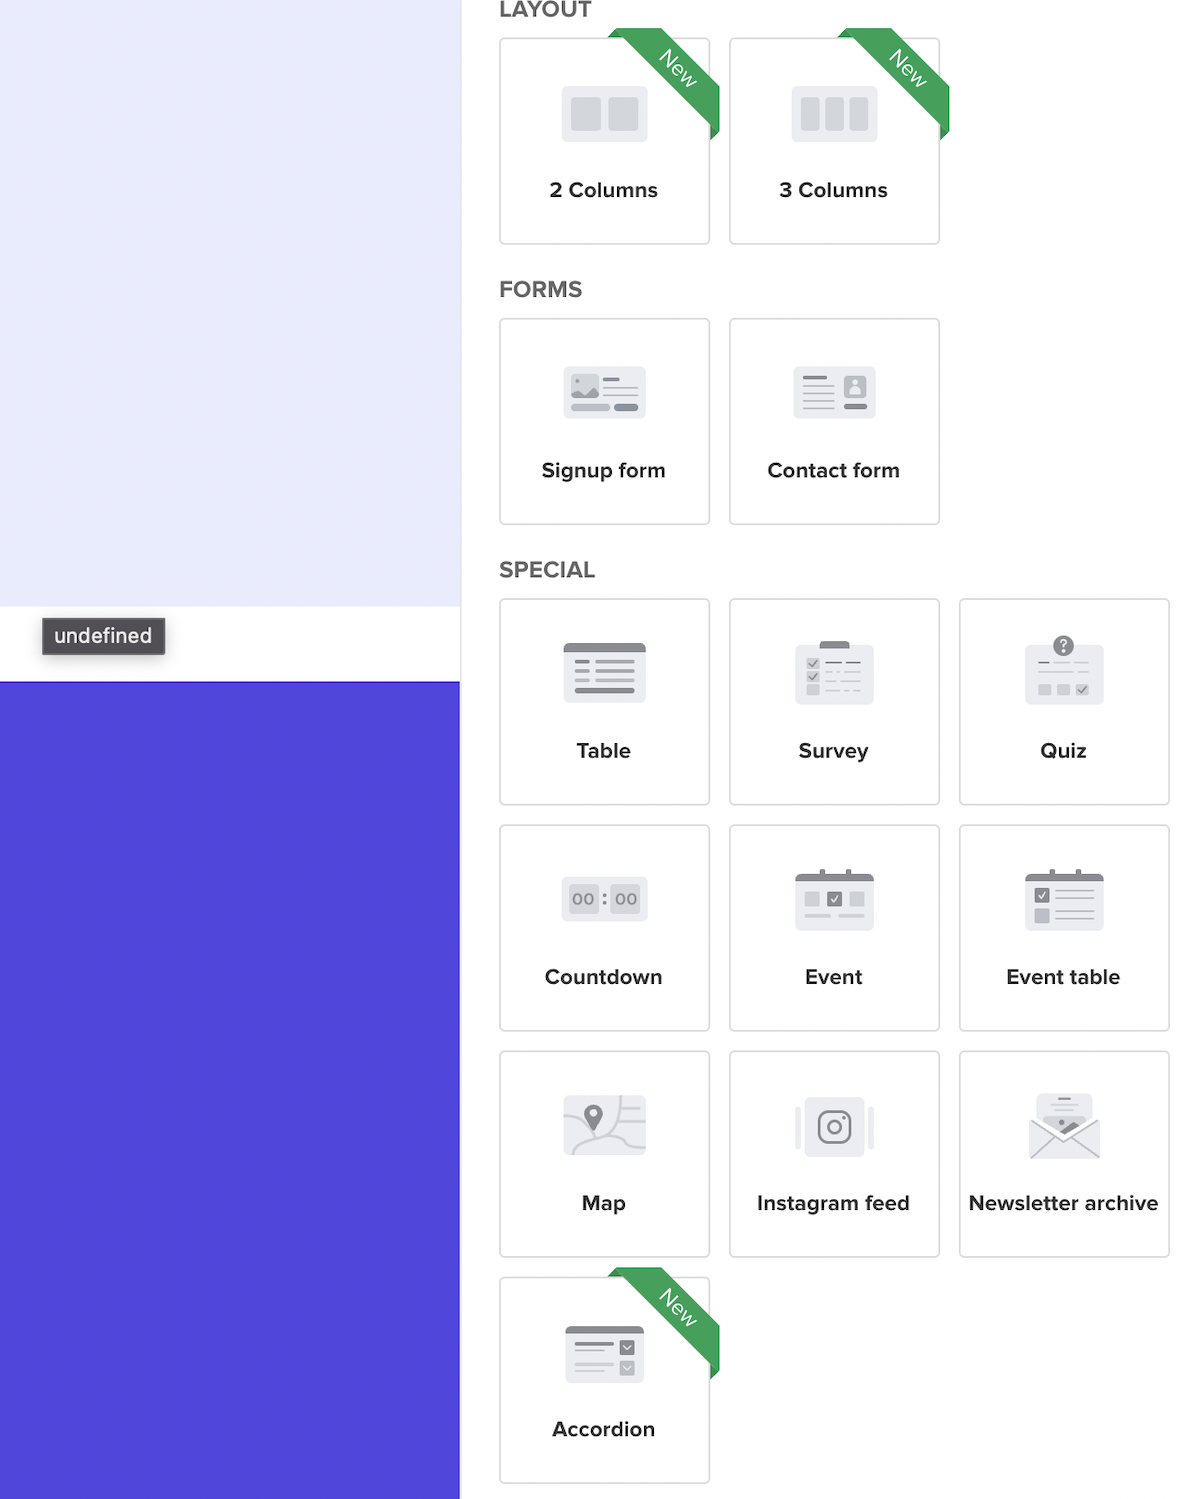
In the middle of the screen, you’ll see your landing page. Click on any element or block on the landing page and a pertinent panel (with options and settings) opens up on the right-hand side of the page. For each element, make appropriate changes as you see fit.
Add new blocks and/or elements as you’d need. With MailerLite Landing Page builder, You have several options for blocks such as column layout options, forms, videos, buttons, forms, maps, Instagram feeds, and so on.
Edit Success Page
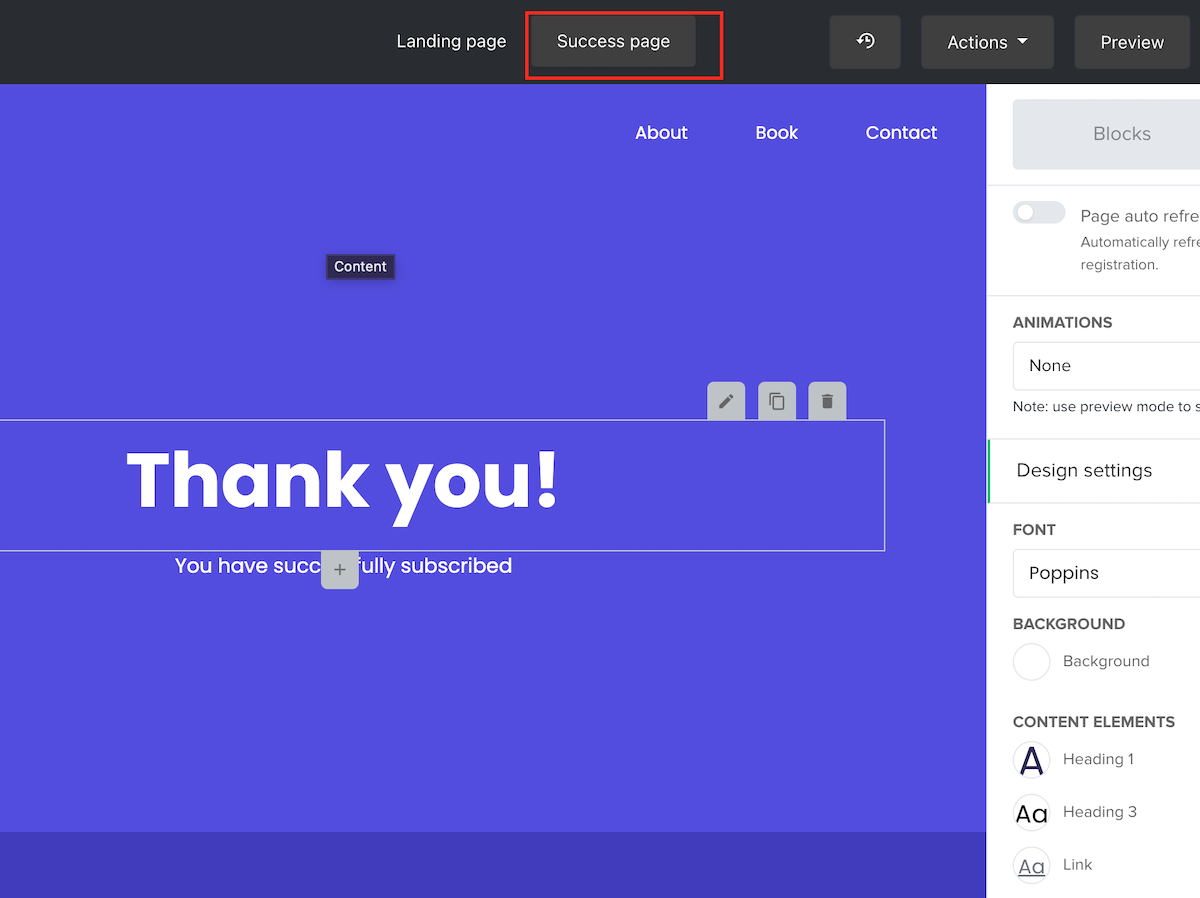
Apart from the main landing page, you also need to edit the thank you page (add a thank you message), change logos, colors, and so on.
Notice the tab next to the active page you are editing on MailerLite, you’ll see another tab called “Success Page”. Don’t forget to edit this page since this is what displays soon after a user signs up.
Note: Some other landing page tools such as Unbounce, Leadpages, and Instapage also provide this feature.
Publish Landing Page
After you are done with your landing page design, it’s time to publish.
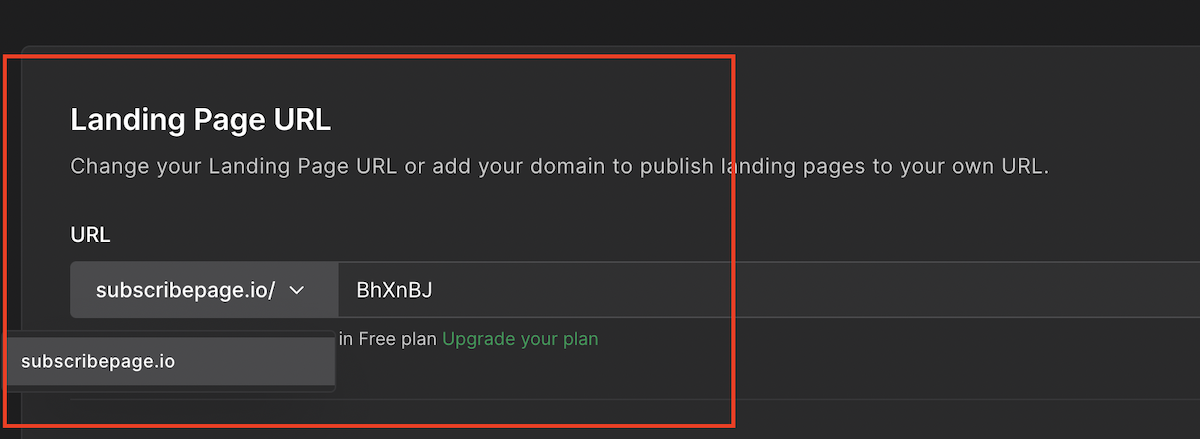
By default, MailerLite publishes your landing page on a domain such as subscribepage.io/BhXnBJ.
If you’d like to use a custom domain so you’d have a completely branded URL such as get.yourdomain.com/[landingpage name], you’d then need to upgrade to a paid MailerLite account.
Add MailerLite SEO Title & Meta Data
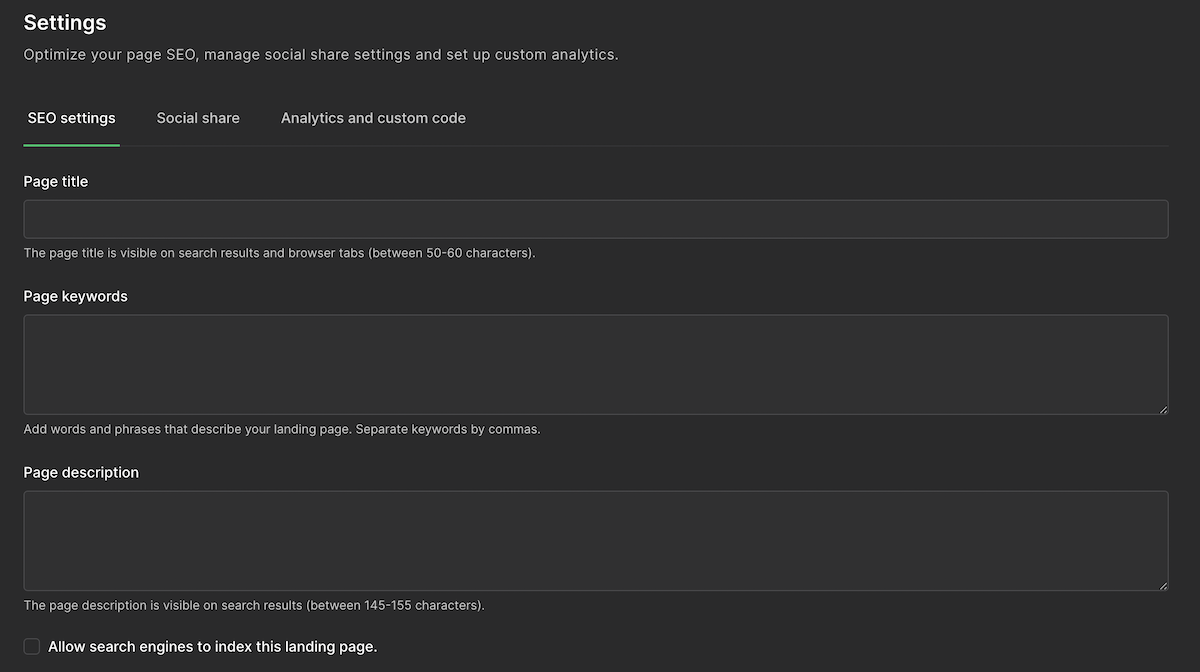
Before you publish your MailerLite landing pages, you’ll see options to add a page title, add SEO title, and add SEO Meta Descriptions. Add this so as to optimize your landing pages for search. You’ll be shocked as to how much more traffic your landing pages get for doing this.
Work on your social share settings (including picking up the right image that shows up on social networks, among others).
Further, click on the “analytics and custom code” tab to work with Google Analytics, Facebook Pixel, and other custom tracking tools such as AnyTrack, SuperMetrics, and others.
Do you use any of the existing landing page software tools available or would you be able to do well with some of these landing page tools provided by email marketing tools such as MailerLite, ConvertKit, Moosend, and others?
Give me a lowdown on what you use.
Tell me all about it on Twitter, LinkedIn, or my LinkedIn Brand page.

