Pick up lessons on how to use Unbounce Smart Builder to help you create landing pages smart, and scale for your business.
Want to create landing pages without much effort? Would you like to build landing pages (multiple-ones, one for each campaign), scale up the number of landing pages, and do it the smart way?
Say hello to the Unbounce Smart Builder.
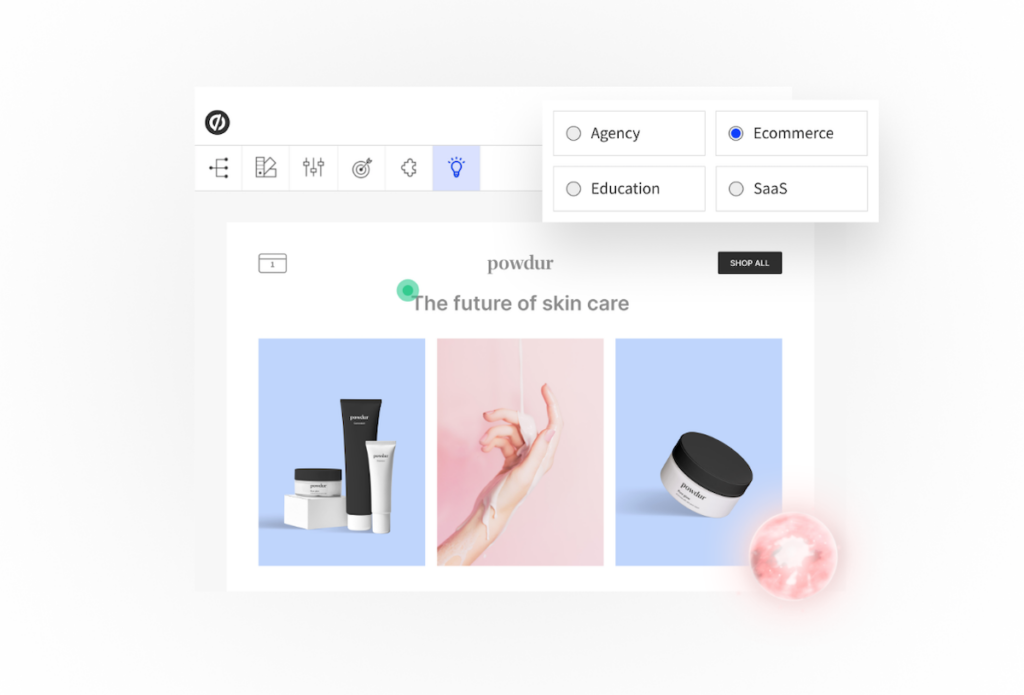
You still have access to the classic Unbounce landing page builder (where you’ll either use Unbounce templates or build landing pages from scratch).
Unbounce Smart Builder, on the other hand, takes a few inputs from you (company name or brand name), name of the page, a few selections you’d make (such as what the landing page is for, the purpose of the page (lead generation, eCommerce sales?), and off it goes to build a landing page for you — all by itself (including the copy/content for the page).
After the Unbounce Smart Builder does its magic, take a few minutes to
- Edit landing page (s) to your liking
- Install a few Unbounce Apps (if your workflow demands) or integrate marketing tools that integrate natively with Unbounce
- Create two versions at least (for A/B testing) [Also engage Smart Traffic ™]
- Launch, Iterate, Test, Repeat.
That’s the bird’s eye view of How to Use Unbounce Smart Builder.
Here are some gory details :
Step 1: Login and Select Unbounce Smart Builder
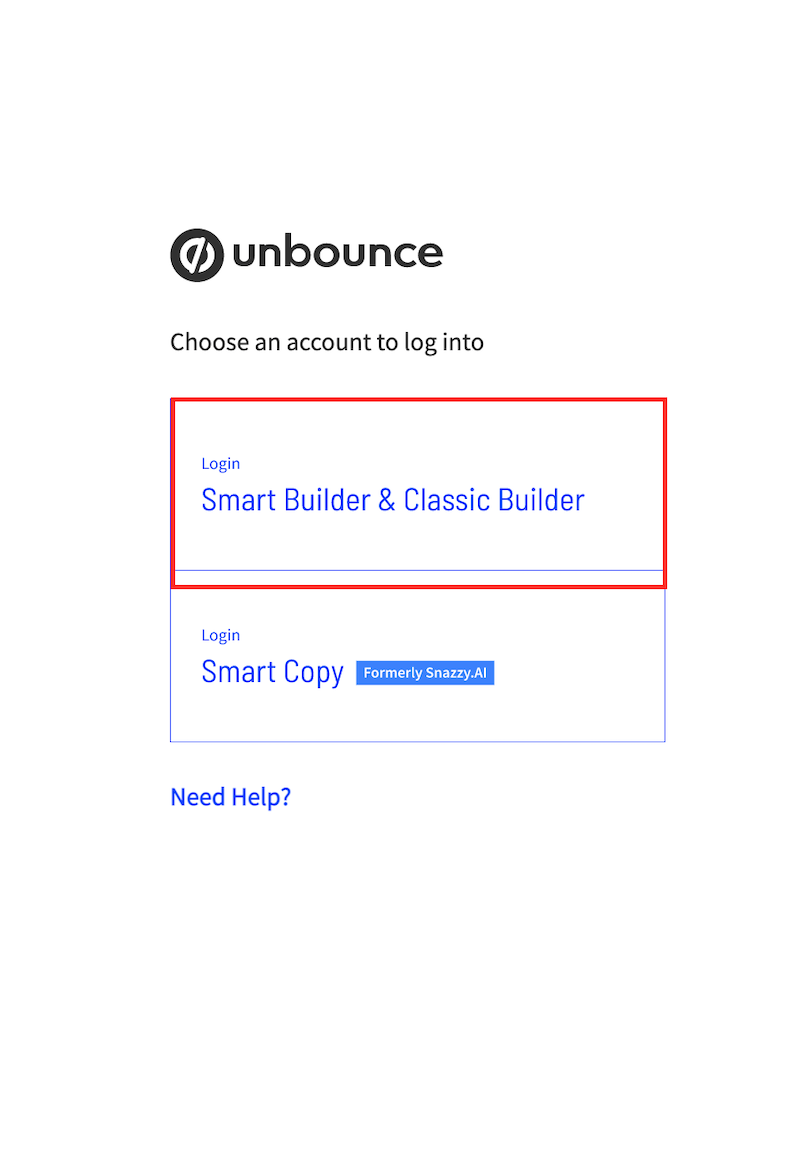
Head over to your Unbounce account (if you have one). If you don’t, get Unbounce (thank me later).
Login with your credentials, and choose Classic or Smart Builder Option.
Step 2: “Create New” & Select Unbounce Smart Builder
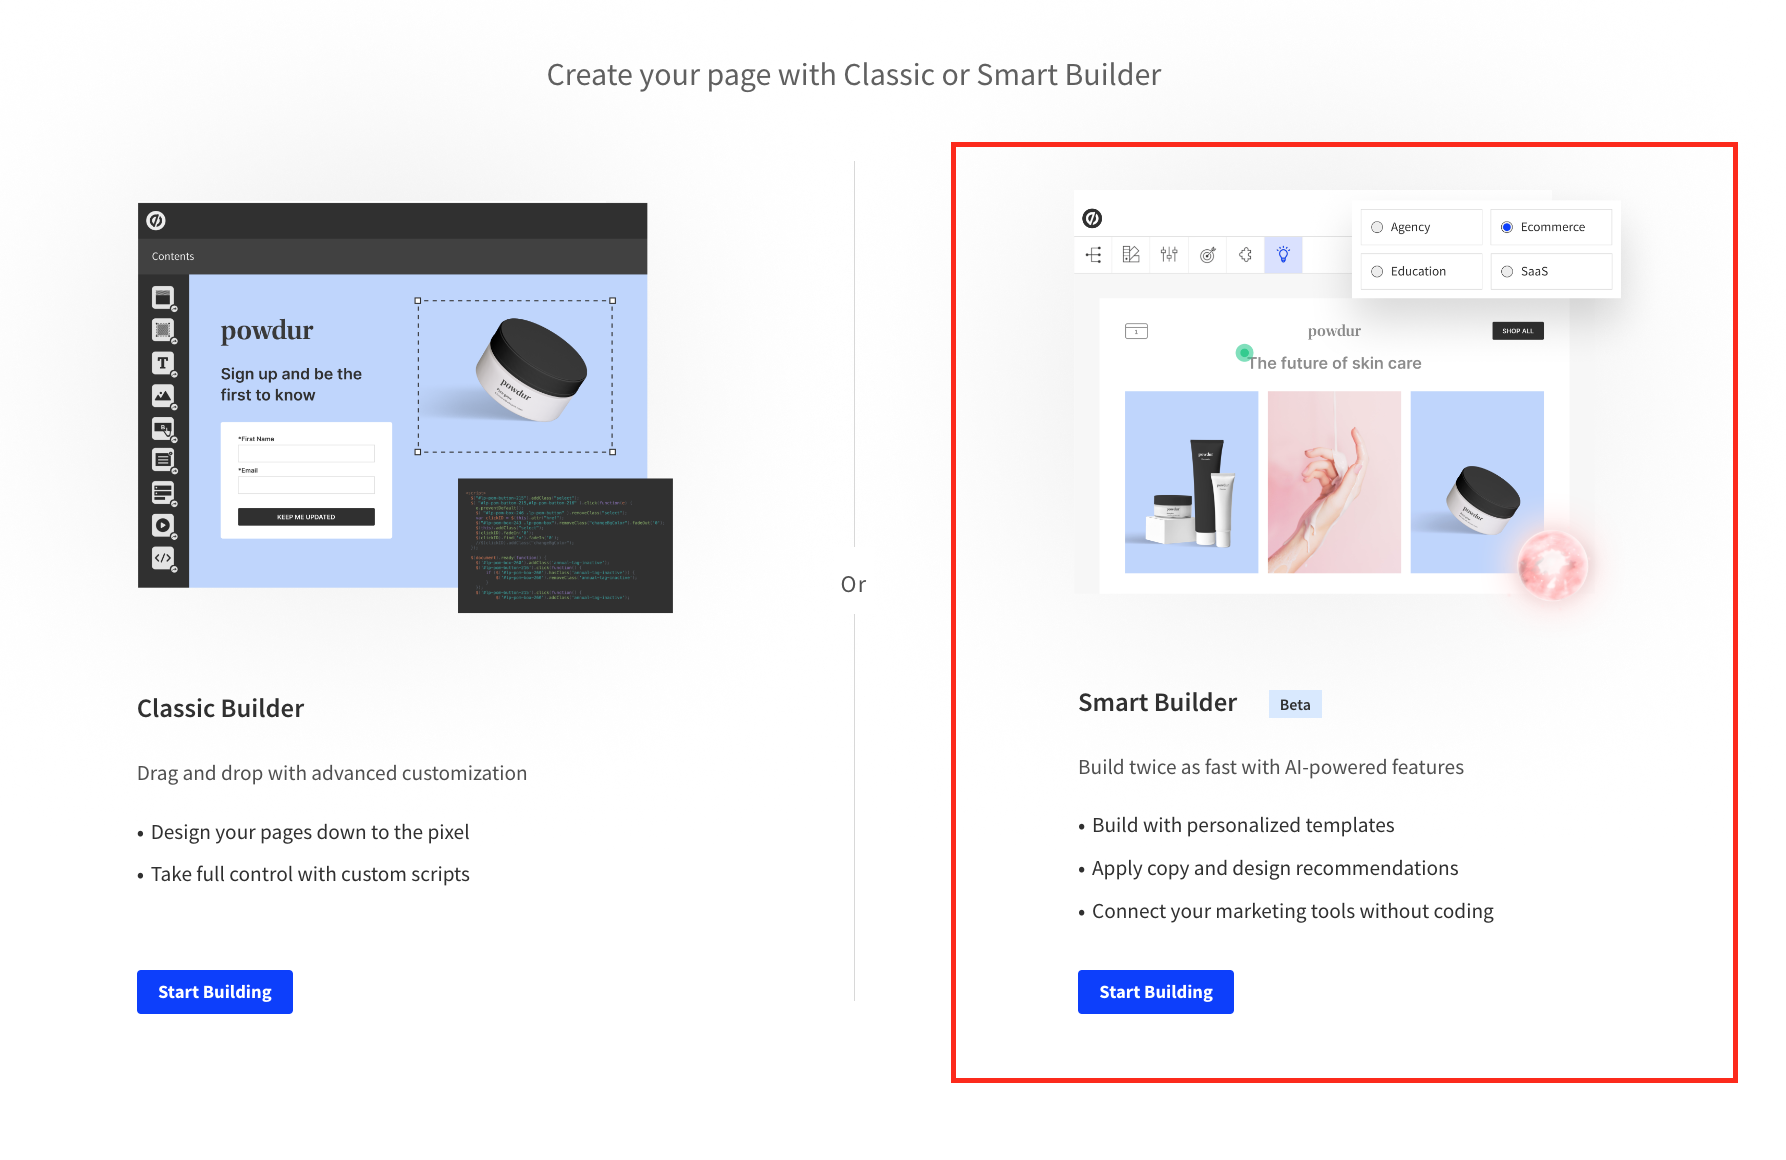
As usual, click on “create new” to create a new landing page. You’d be given an option to choose the classic Unbounce builder or the “Unbounce Smart Builder”. Choose “Unbounce Smart Builder”.
Step 3: Feed the Smart Builder (Some Inputs Please)
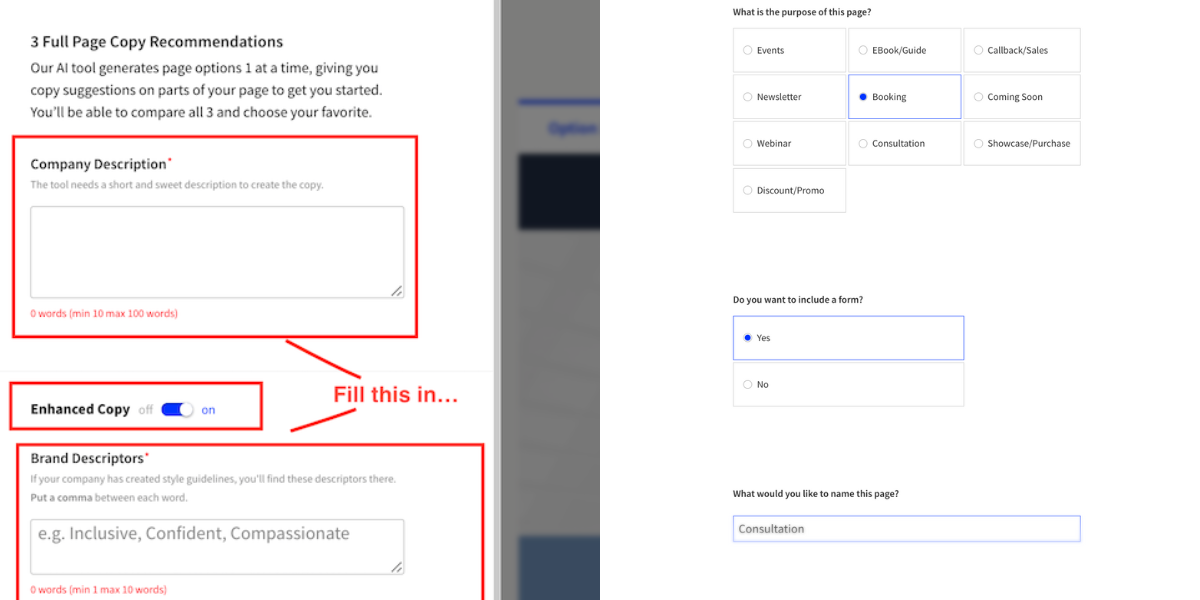
You’ll be asked for some information (such as your brand name or company name), name of the landing page, and so on.
You’ll also have to select the purpose of the landing page, the goal of the landing page (is the landing page for collecting bookings? Newsletter sign ups? Showcasing eCommerce products?
After you move on to the next page, you’ll see options for “copy recommendations”.
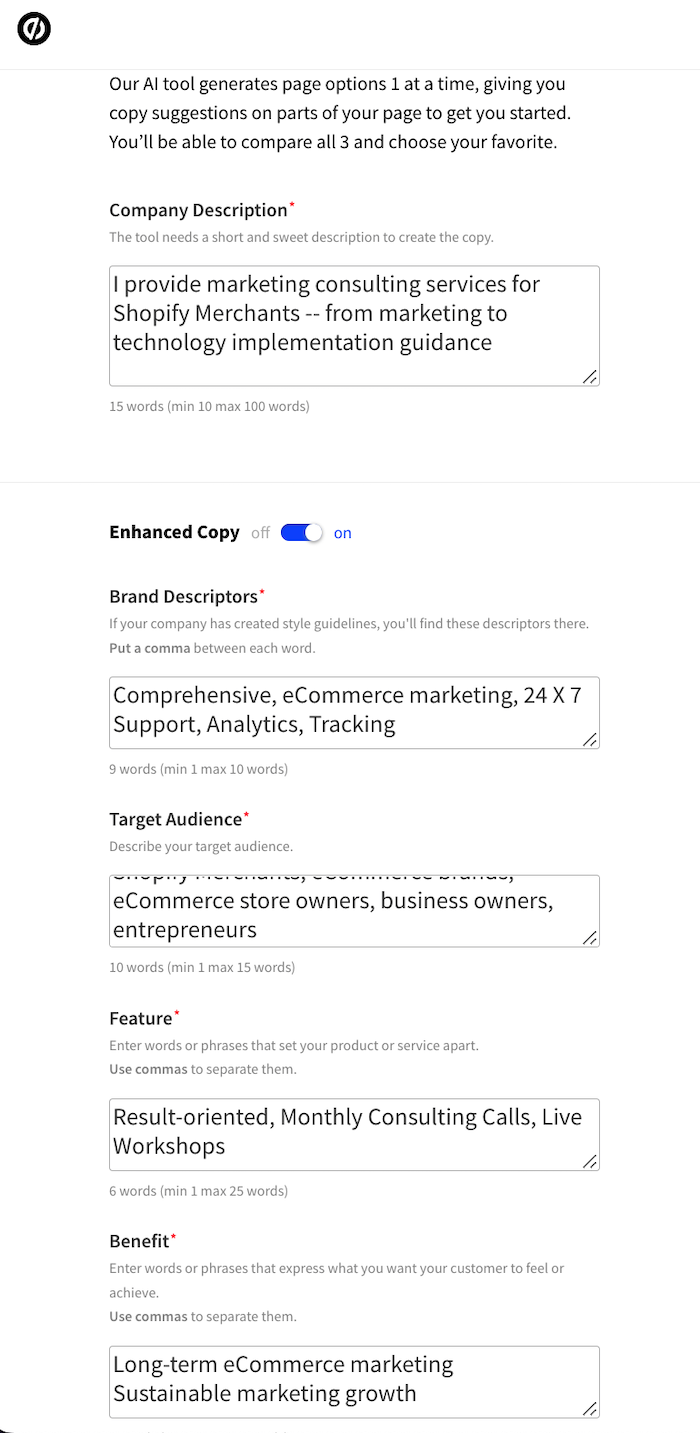
Be sure to fill in these descriptions. Also, switch on the toggle that says “enhanced copy”. The more details you provide, the better the copy output will be.
Step 4: Review Your Provided Descriptions
Take your time (not too long) to review your company descriptions, brand descriptors, target audience, features, benefits, and other details asked.
This is how it’d look like, for a fancy consulting service I’d like to provide (example).
Unbounce Smart Builder Copy (+ Default Page). Time to Edit
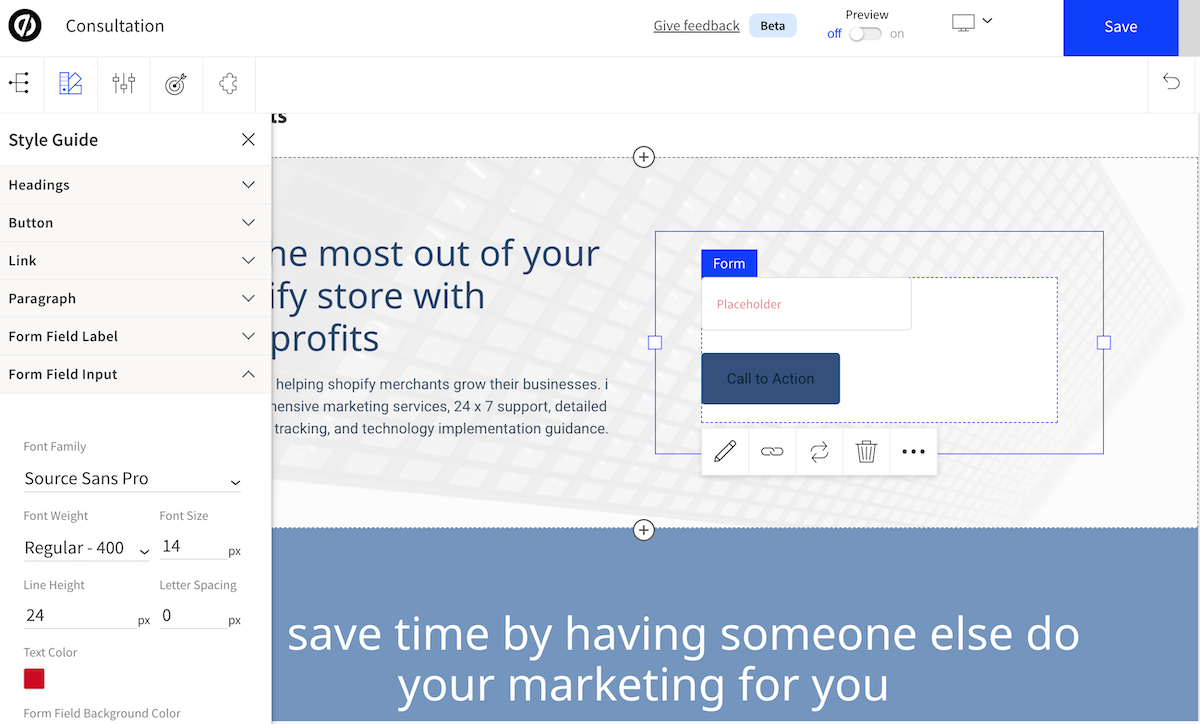
Give the Unbounce Smart Builder a few seconds and your landing page is ready (as shown). The default page will have all of the copy, on a template.
No, it’s not completely ready yet.
Make use of the intuitive editing options provided. Change the logo, swap the colors, add images (use Unsplash or upload your images).
You also have several design apps to mask layers, add button styles, and more.
Use Unbounce Apps
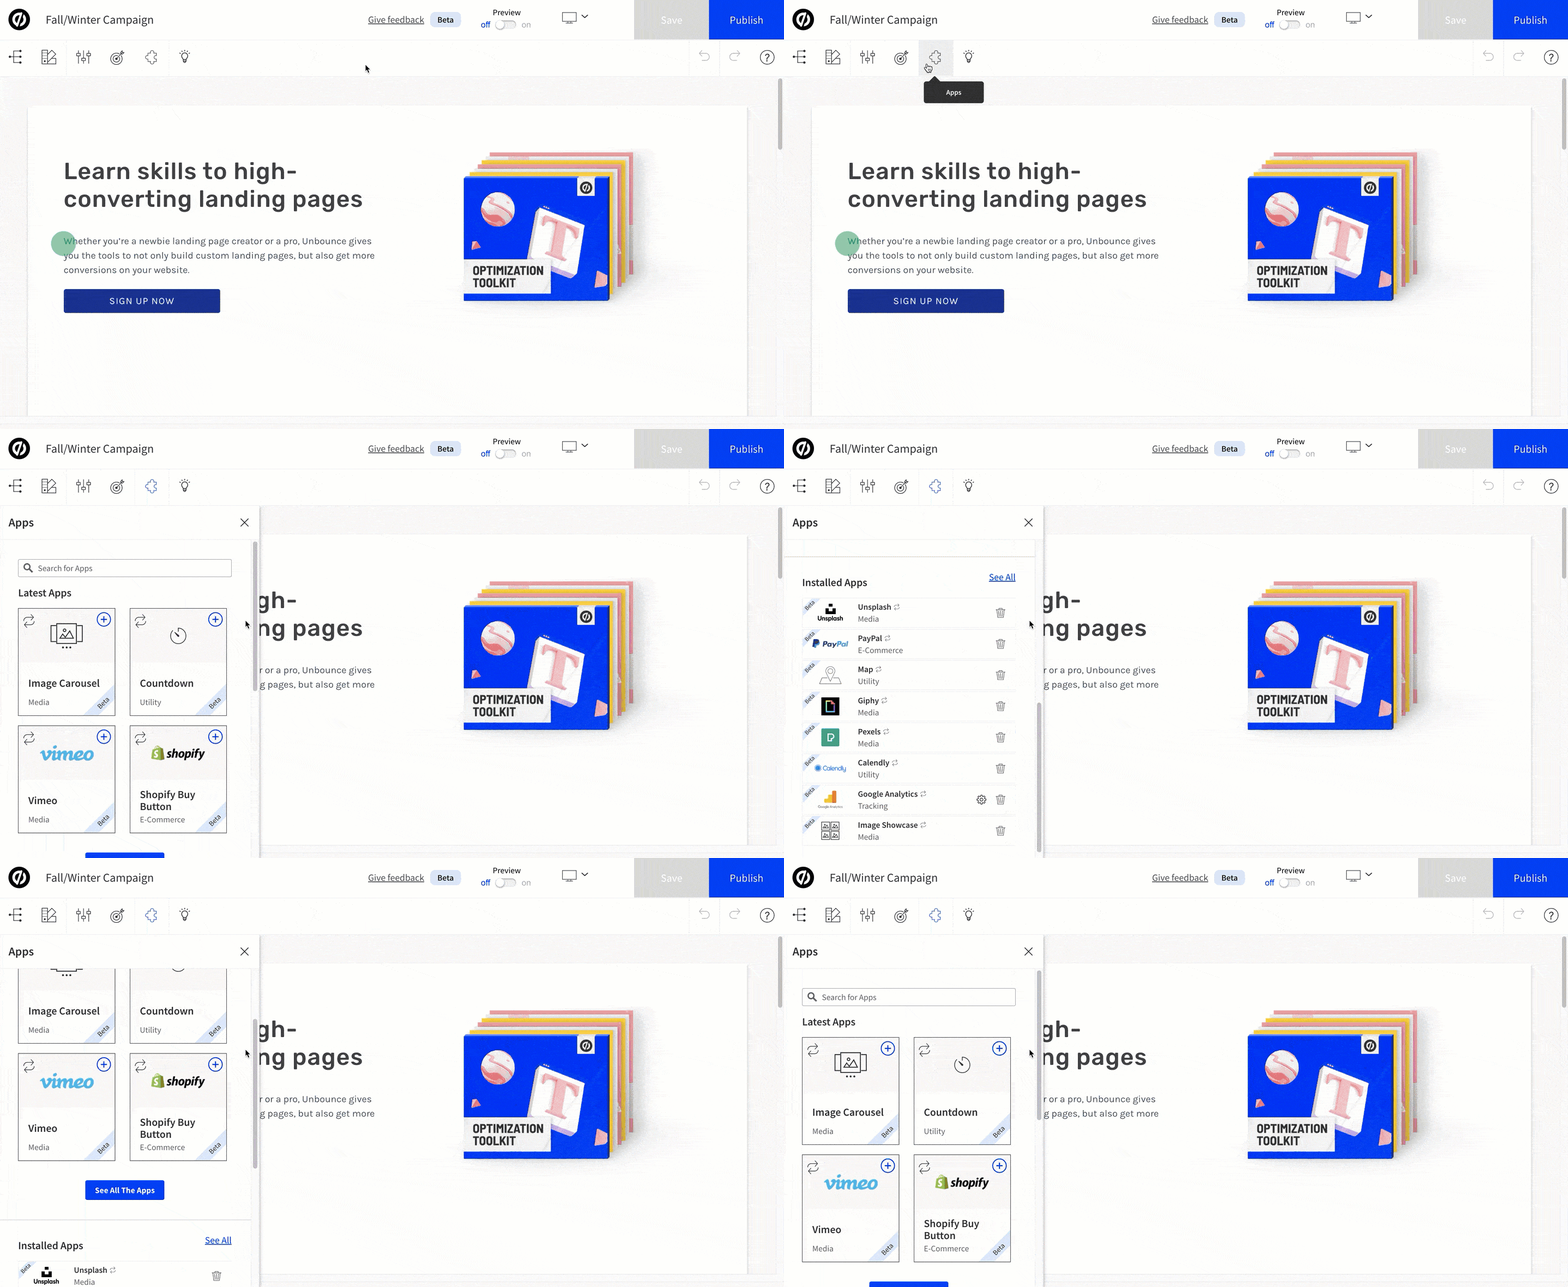
Depending on your requirements for the landing page, make use of Unbounce Apps — a whole suite of apps that help you do incredible things.
Apps for design, apps for content, apps for analytics, apps for eCommerce, and more.
Launch 2 Variants, Test, Repeat
Before you go trigger happy with the Unbounce landing pages, ensure that you complete Integrations (if any, such as MailChimp, ConvertKit, Drip, and others).
Create at least two variants (A & B) — for split testing your landing pages.
Launch. Let data tell you the story (converting? Not converting?).
Come back, make changes to your landing pages, and roll again.
Tell me all about it on Twitter, LinkedIn, or my LinkedIn Brand page.
