If you are wondering how to create Moosend account and use Moosend Email Marketing for your email marketing campaigns, this is the blog post for you.
Note: The simpler your email marketing program is to start with, the faster you get to use the power of email marketing broadcasts, email marketing campaigns, email marketing automations, and more.
Moosend is one of the leading email marketing programs out there and I absolutely love it. I think you should give it the due consideration.
Here’s how to get started with Moosend Email Marketing:
Step 1: Register with Moosend
Go to Moosend and sign up (while you are at it, you can also test drive all of the Moosend features with the free trial for 30 days).
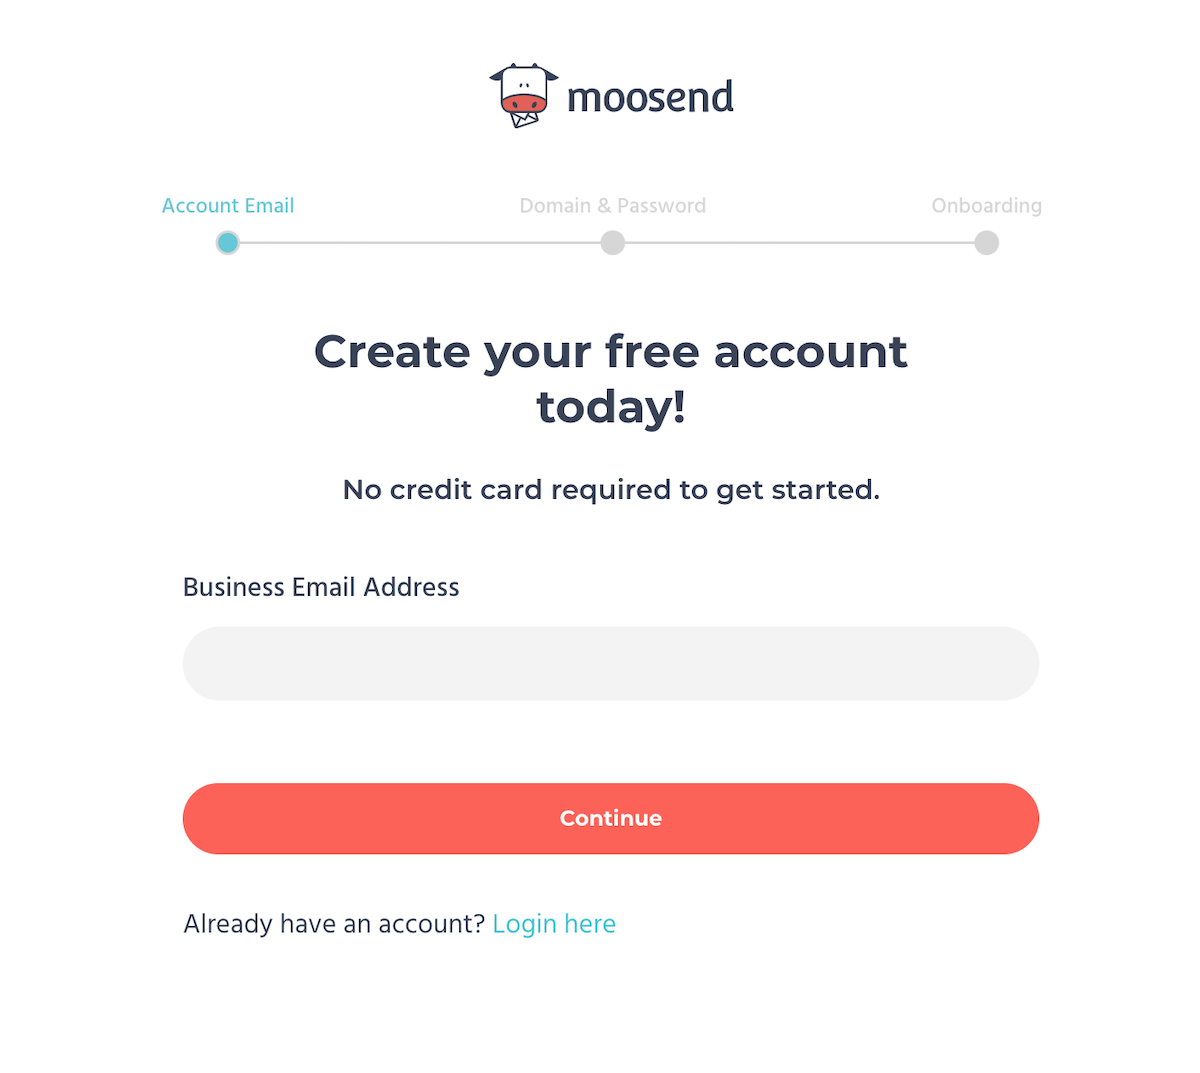
Step 2: Create Moosend Workspace
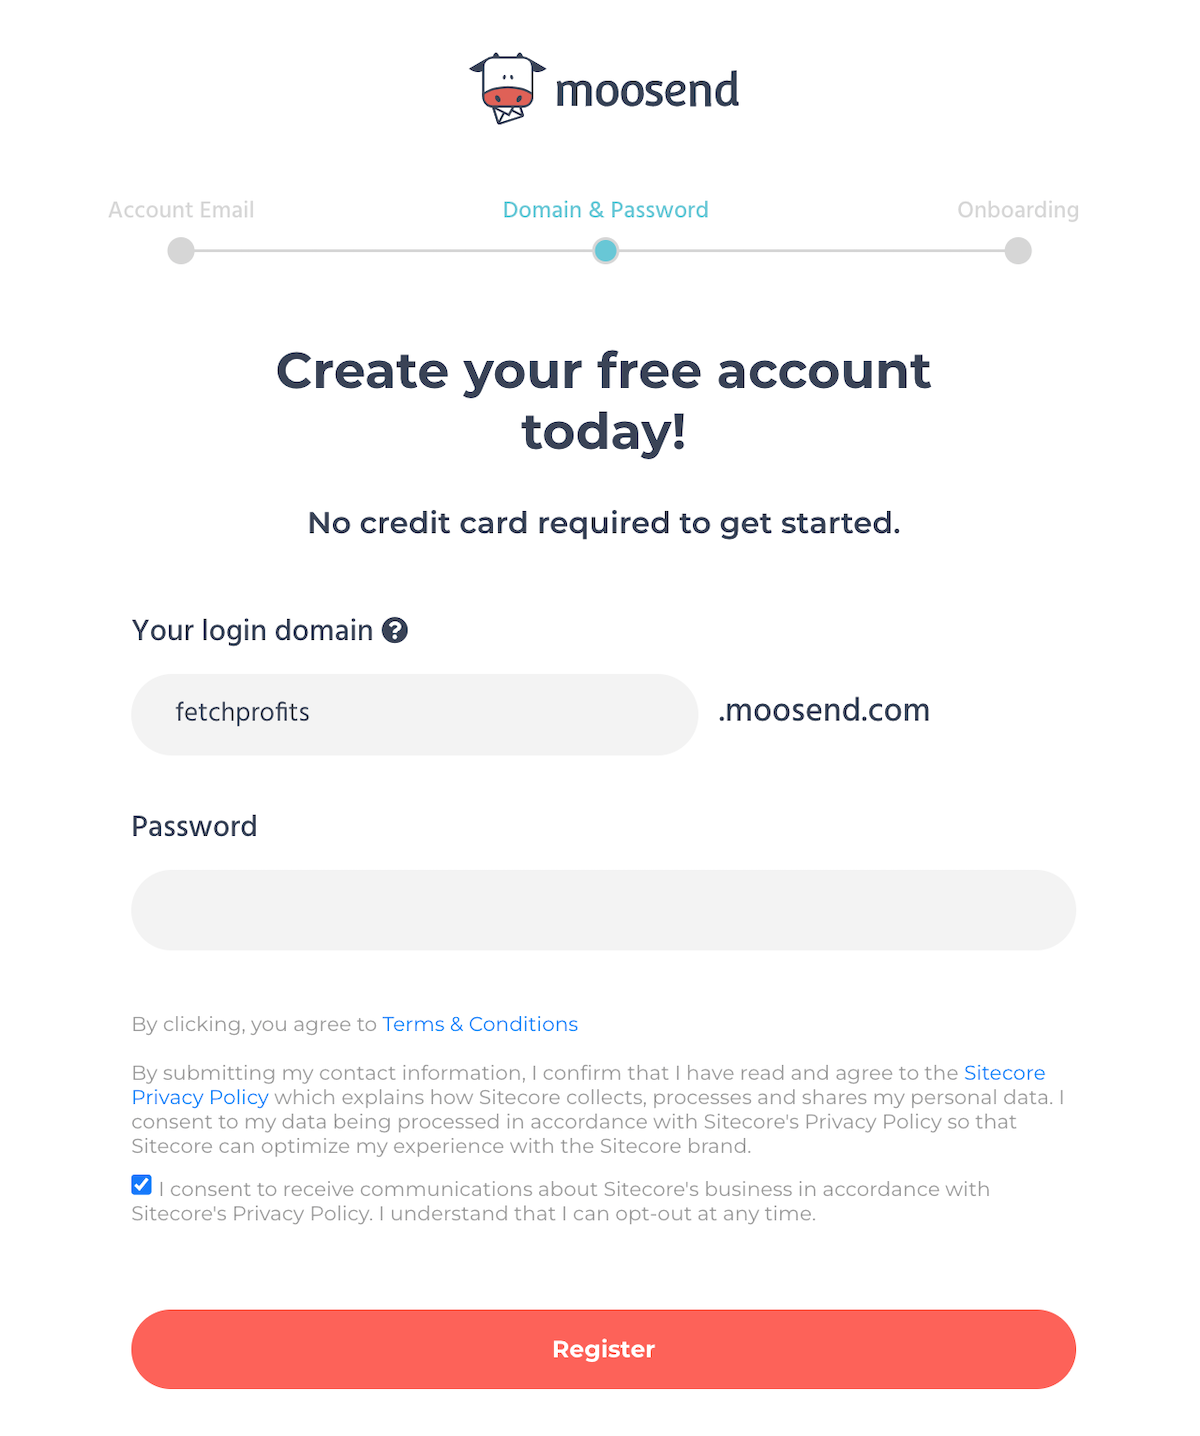
This step is a unique step you’d create while signing up. After you create a workspace, visit your workspace URL directly (and is usually created with your brand name).
So, it’d look like yourbrand.moosend.com
Step 3: Verify and Activate Account
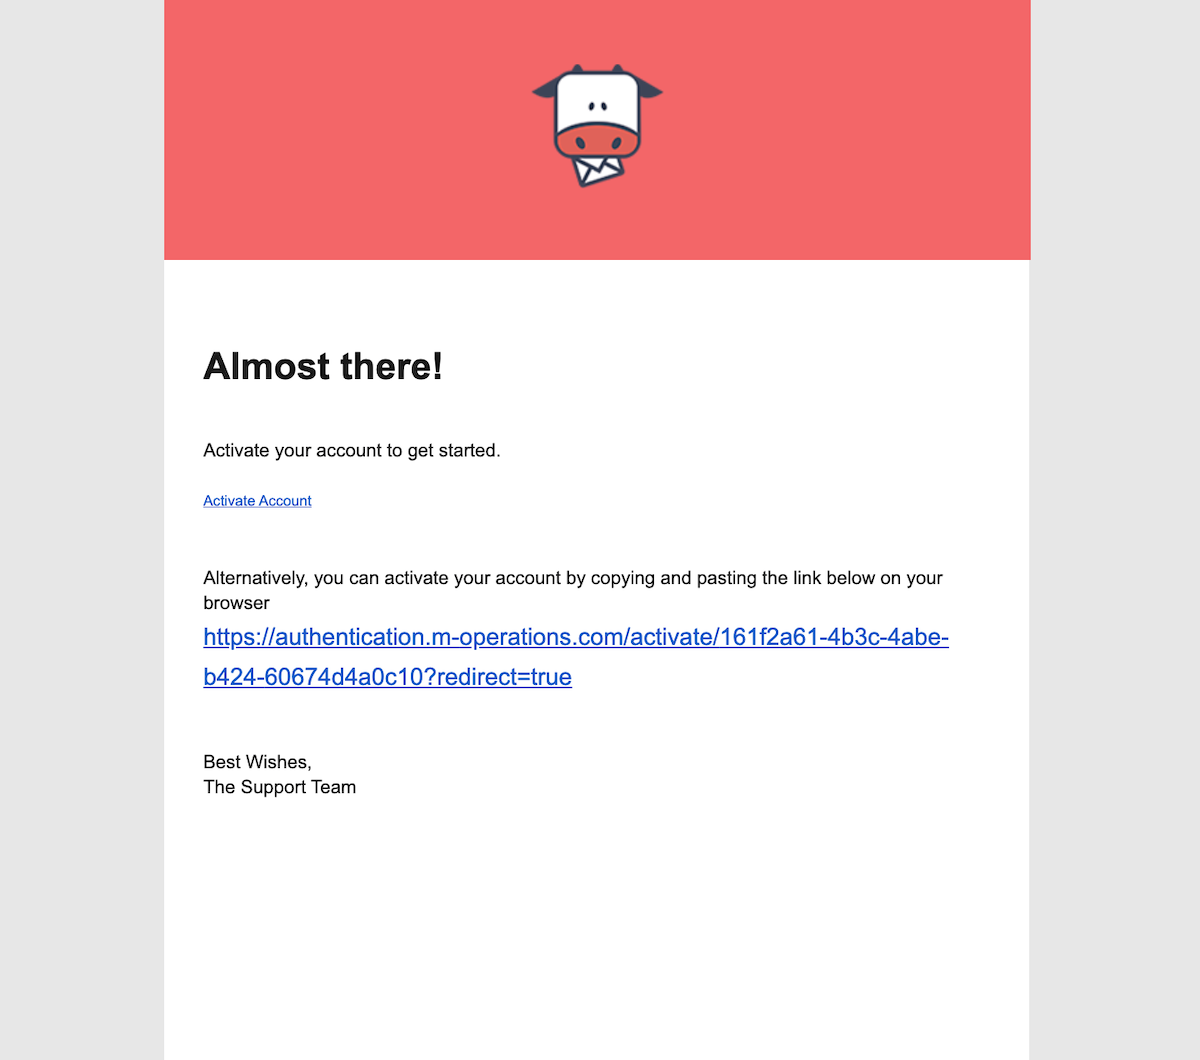
After you sign up for Moosend, please login to the email address (the one you used to sign up) and click on the link or button you get.
Activate your account.
Step 4: Create Email List & Audiences
This, right here, is the money maker. This is the exciting part of running your business. The email list building is a never-ending endeavor.
It does start somewhere, though.
After you are done with the basics (above), it’s time to set things on fire with email list building.
Note: The only kind of email list building you’d do is the one where you naturally grow your leads and/or subscribers.
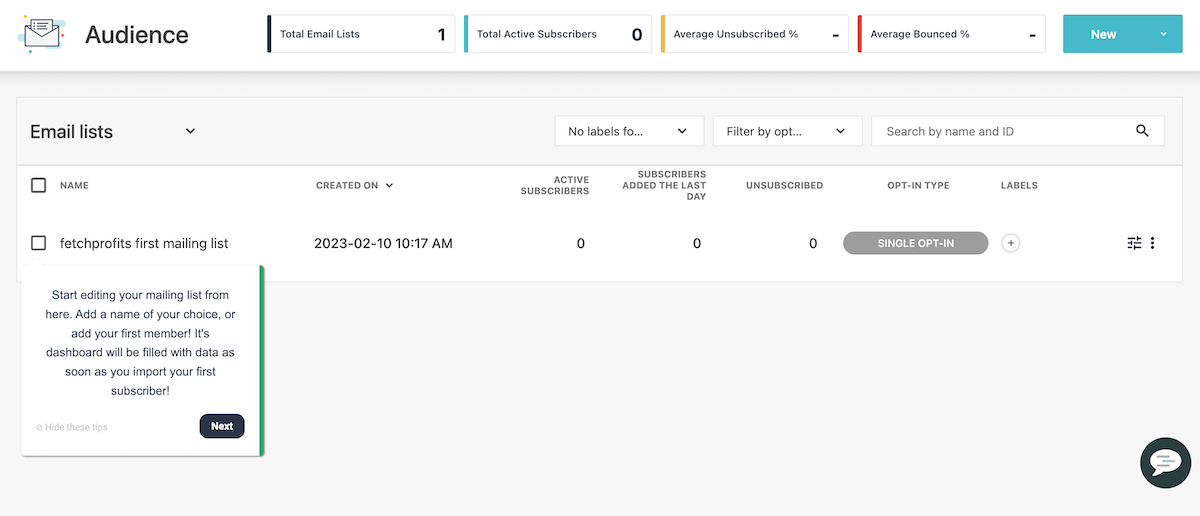
To start with, import any existing subscribers. If you don’t have any subscribers at all, move on to the next step.
Sign Up Forms + Landing Pages
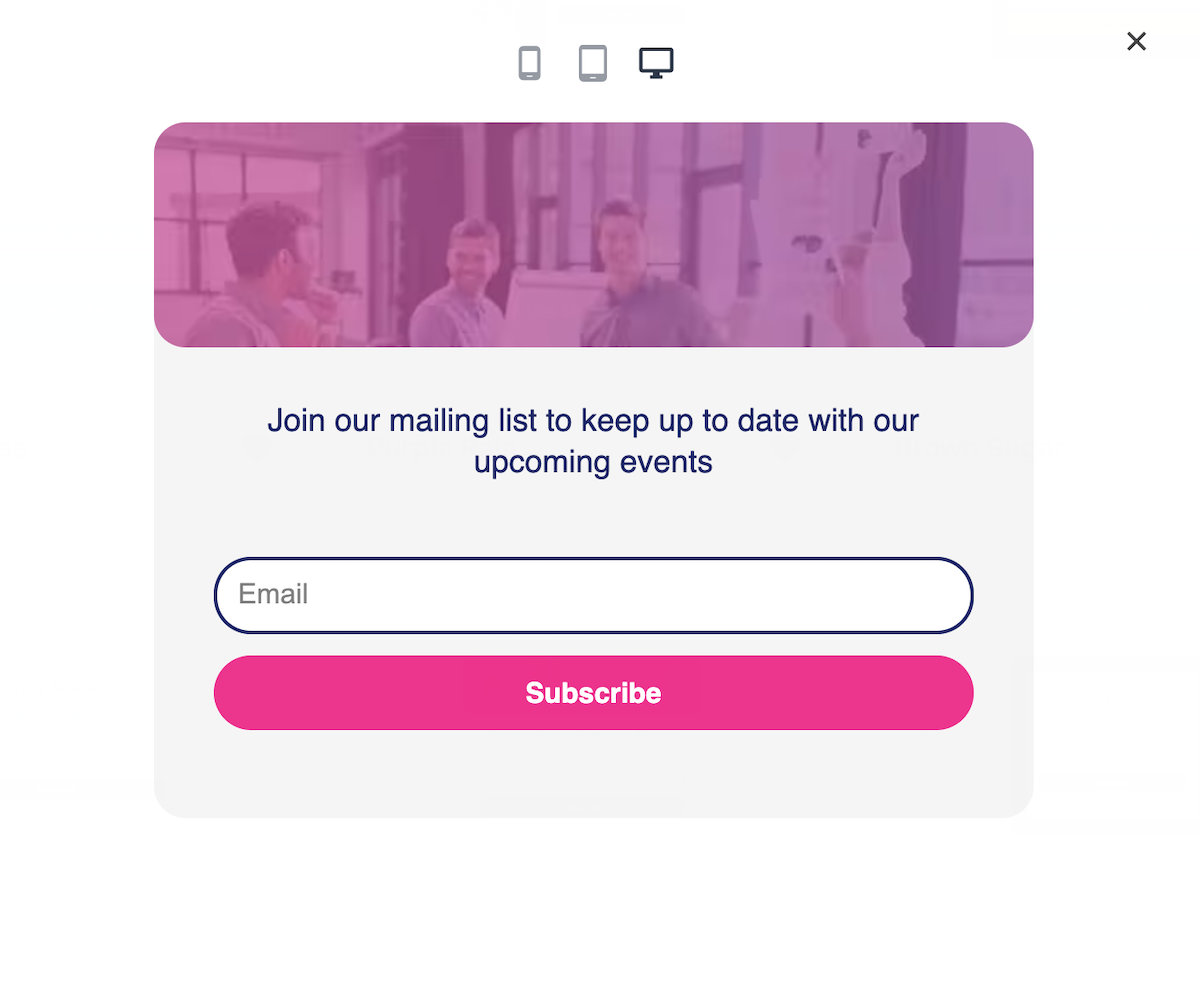
Sign-up forms, subscription forms, opt-in boxes, exit-intent opt-in forms, and your landing pages — these are the crucial elements of the machinery that help you generate clients.
Moosend allows you to create all sorts of lead generation elements to help you start generating leads right away.
Create In-line forms, opt-in forms, and more.
Note: One specific offer per sign-up form or landing page.
Connect Website
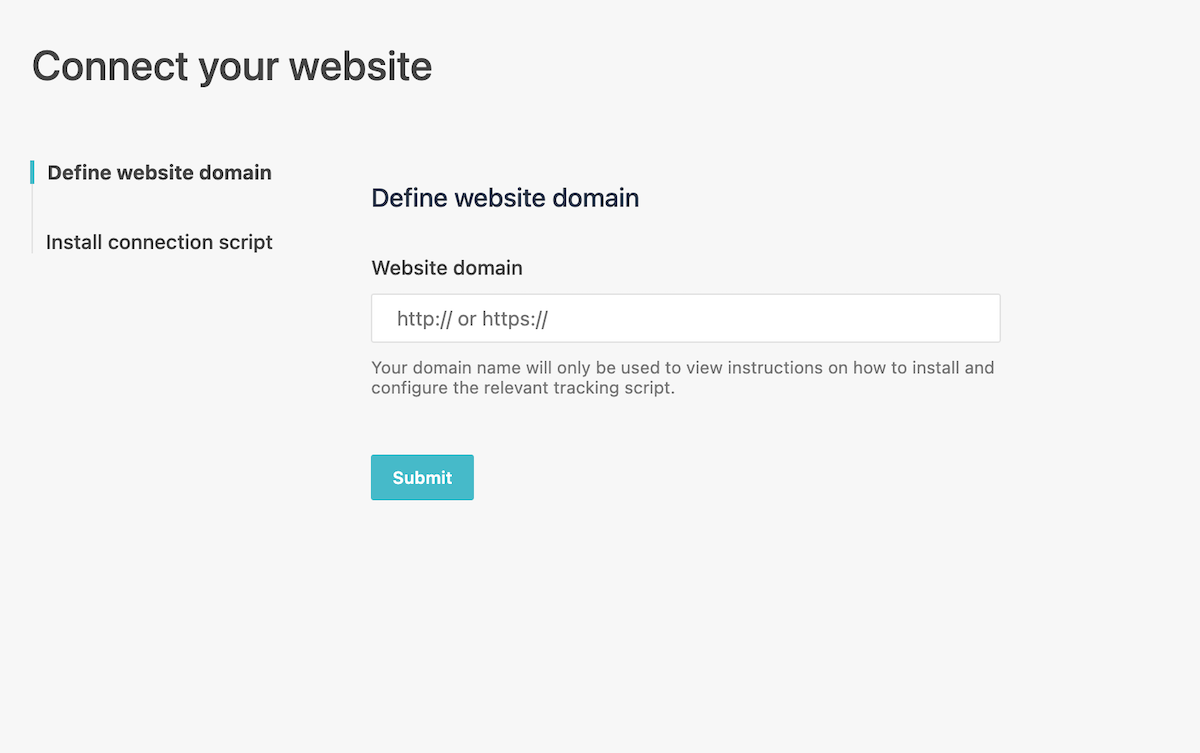
One last (but important step) is to connect your website with Moosend.
This allows you to not only integrate Moosend with your website but also allow you to track visitors, use built-in analytics, and install the custom script that Moosend provides for you.
Get to work
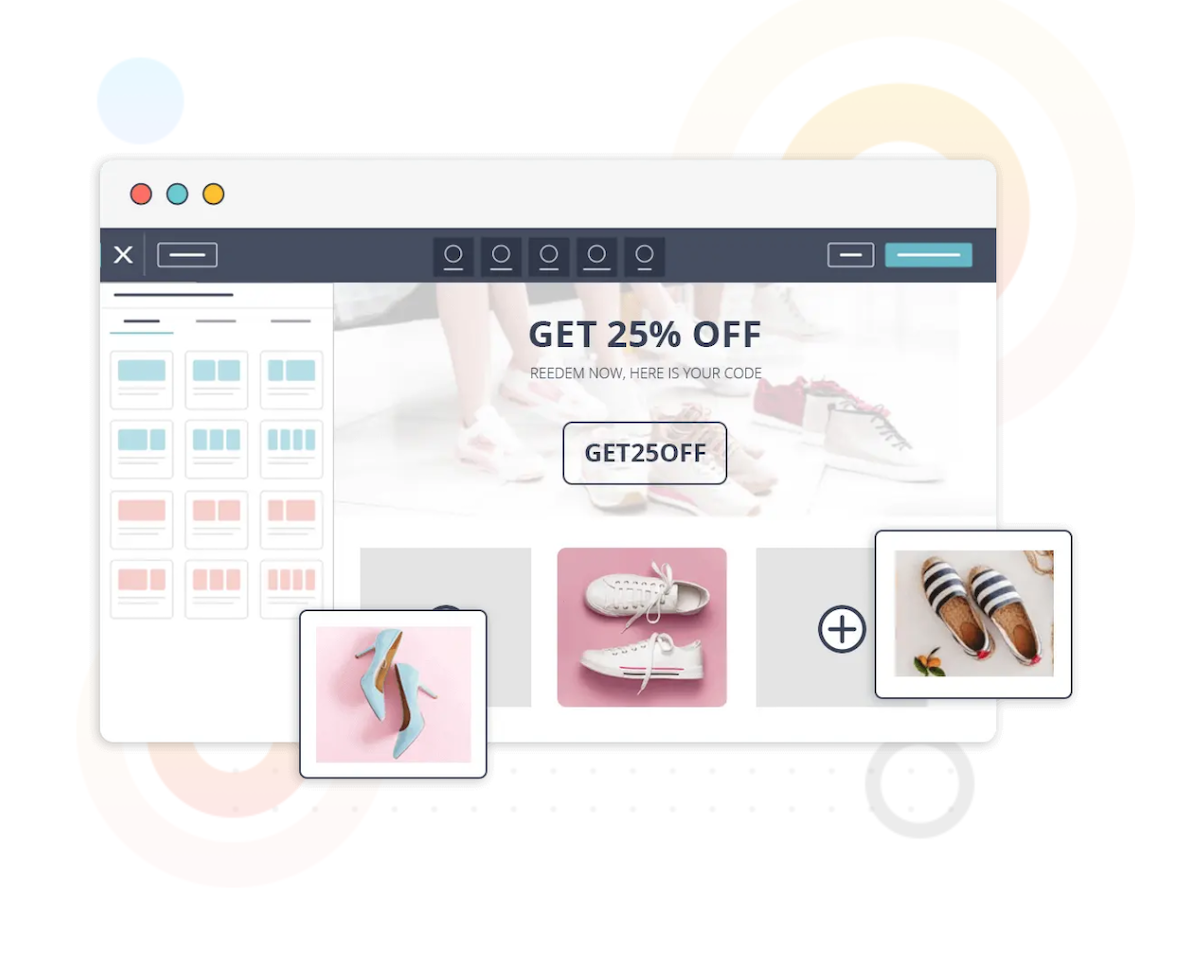
Once you create your sign up forms and landing pages, you should get to work. Craft sign up forms and subscription boxes such that they start showing up on your website.
Then, create “Inline” forms– once or twice within your blog posts.
The landing pages should be used across your blog posts as links, Call-to-action buttons, nav menu links, social media, YouTube Videos, and elsewhere.
Have you used Moosend Email Marketing tool before (or do you use it now?). What do you think of your experience with the platform?
