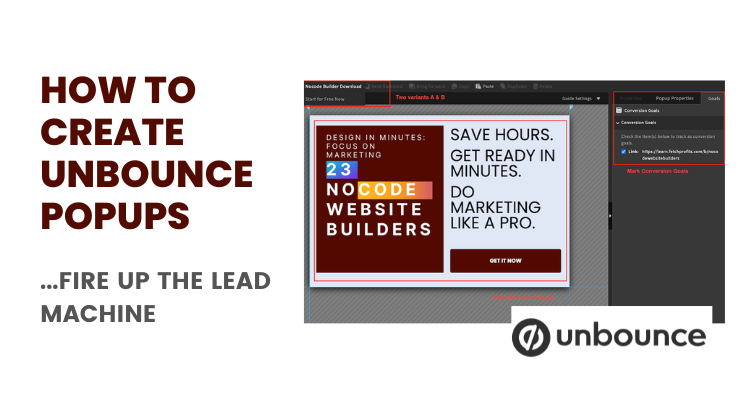
Learn how to create Unbounce Pop ups (or covertables, as they are called) and you’ll make your website a lead generation machine.
Unbounce Pop ups — by Unbounce — are lead generation popups — and they can also double up as prompts to push visitors to take some sort of action that benefits you as a business.
For instance, using Unbounce Popups, push visitors to view a demo video (right there). Or have people book an appointment (by embedding Calendly or some other tool that allows embeds). Or have people visit your eCommerce store
Ways to use Unbounce and Unbounce popups are many. How to Create Unbounce Popups? That’s what we’ll focus on here.
Login to Unbounce and Find Popups and Sticky Bars
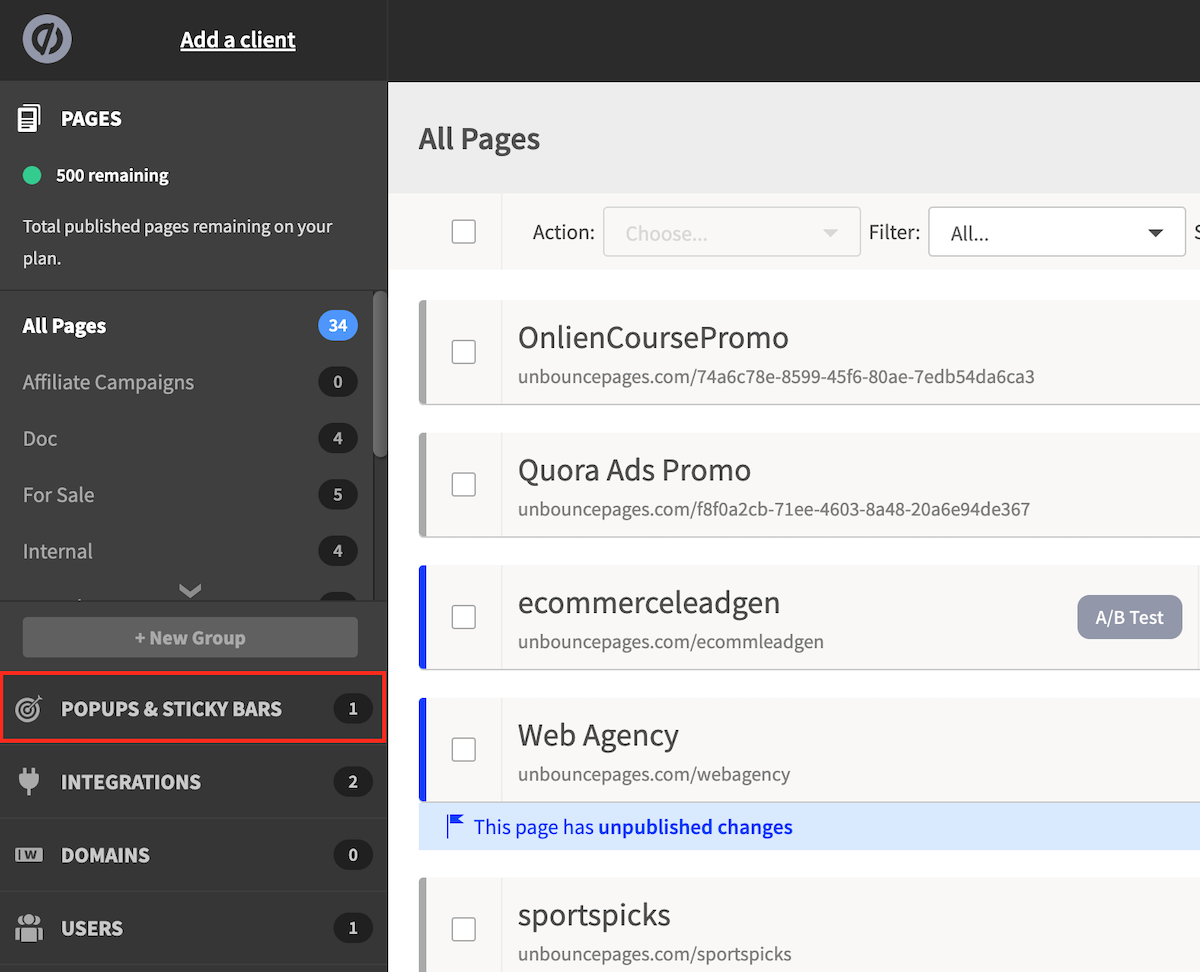
Login to Unbounce. Start a free trial with Unbounce (if you don’t have an account). On the left side panel, find “popups and sticky bars” as shown.
Create New Popup [Pick a Template or Start Blank]
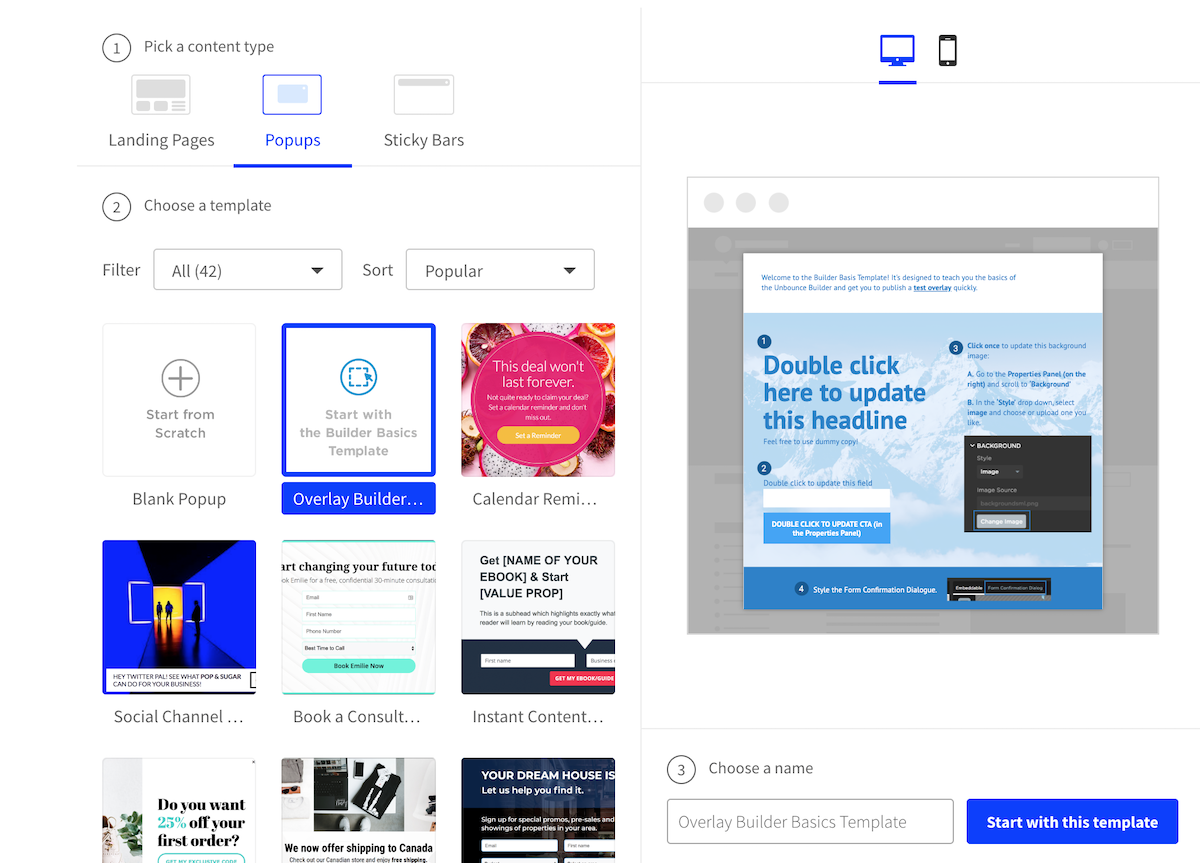
On the top right corner, find the blue button that says “create new”. Click on it and Unbounce will reveal a few popup templates.
Use any of those (and each of those popup templates are infinitely customizable).
Start blank if you can’t handle your creative horses or if you know exactly what type of style of Unbounce popup you want to create.
Edit and Customize Unbounce Popups
Once you select a template (or prefer to start with a blank canvas), it’s time to edit/add elements to your Unbounce Popup.
Change the background color, add (or don’t) logos, add images or graphics, add copy (headline), add subheadings if you want, and be sure to add one of the two options below:
– Add a button with a link (if you want visitors to click and go somewhere or do something elsewhere)
– Add a lead gen form with an email field(s) + button to generate leads.
Mark Conversions Within Unbounce
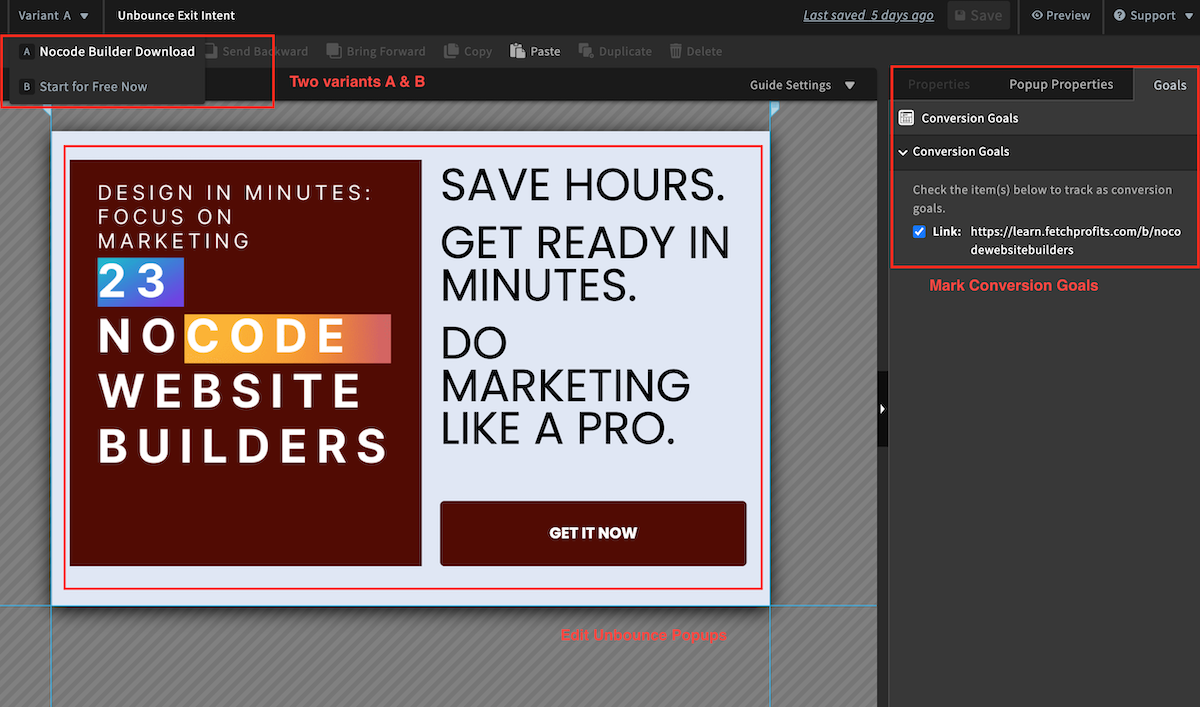
On the right side panel, you’ll have an option to mark goals. You should mark relevant goals as conversions.
If it was a button click (usually to a link), that’s a conversion goal. Marked as such.
Had a lead gen form with email fields? Each conversion (or sign up) is now marked as a conversion goal.
Setup Unbounce Popup Targeting
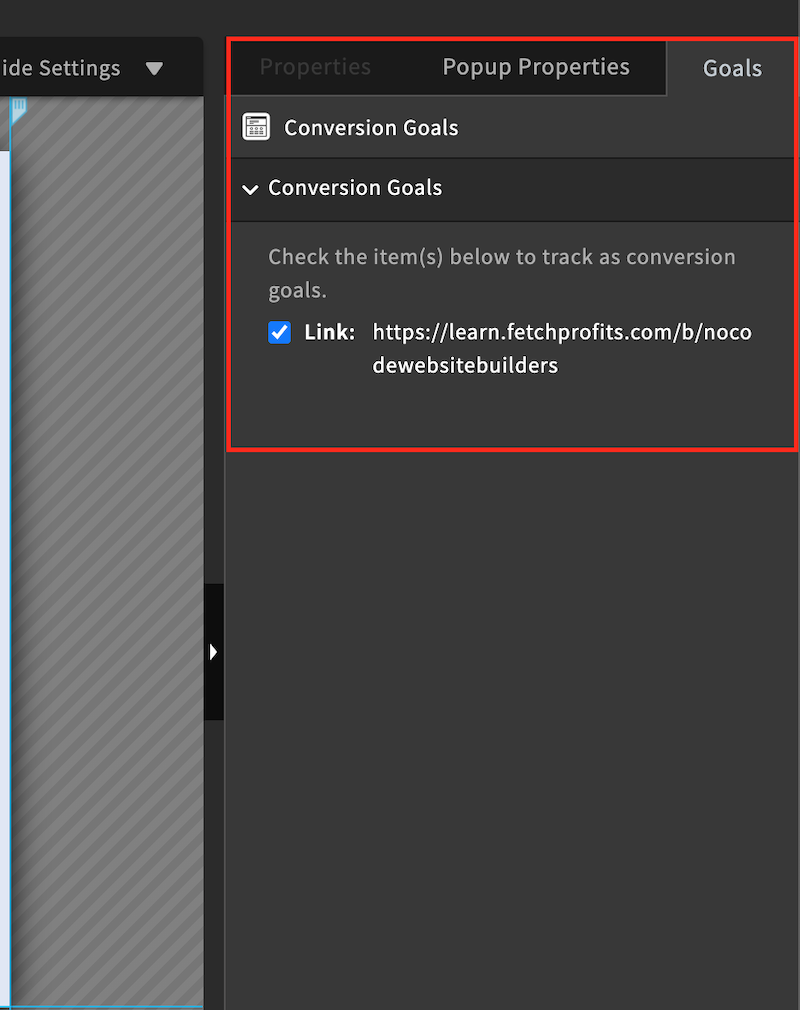
Unbounce Popups are deployed based on targeting options you select.
– The specific URL paths where the Popup should show up (or not)
– When does the Popup trigger? On arrival? On exit (also called as Exit-intent Popup — won’t work on mobile devices)? After 50% page scroll?
– Show once per visitor? Show every time? Show on return visitors for the same visitor?
Create Variant B [For A/B Testing]
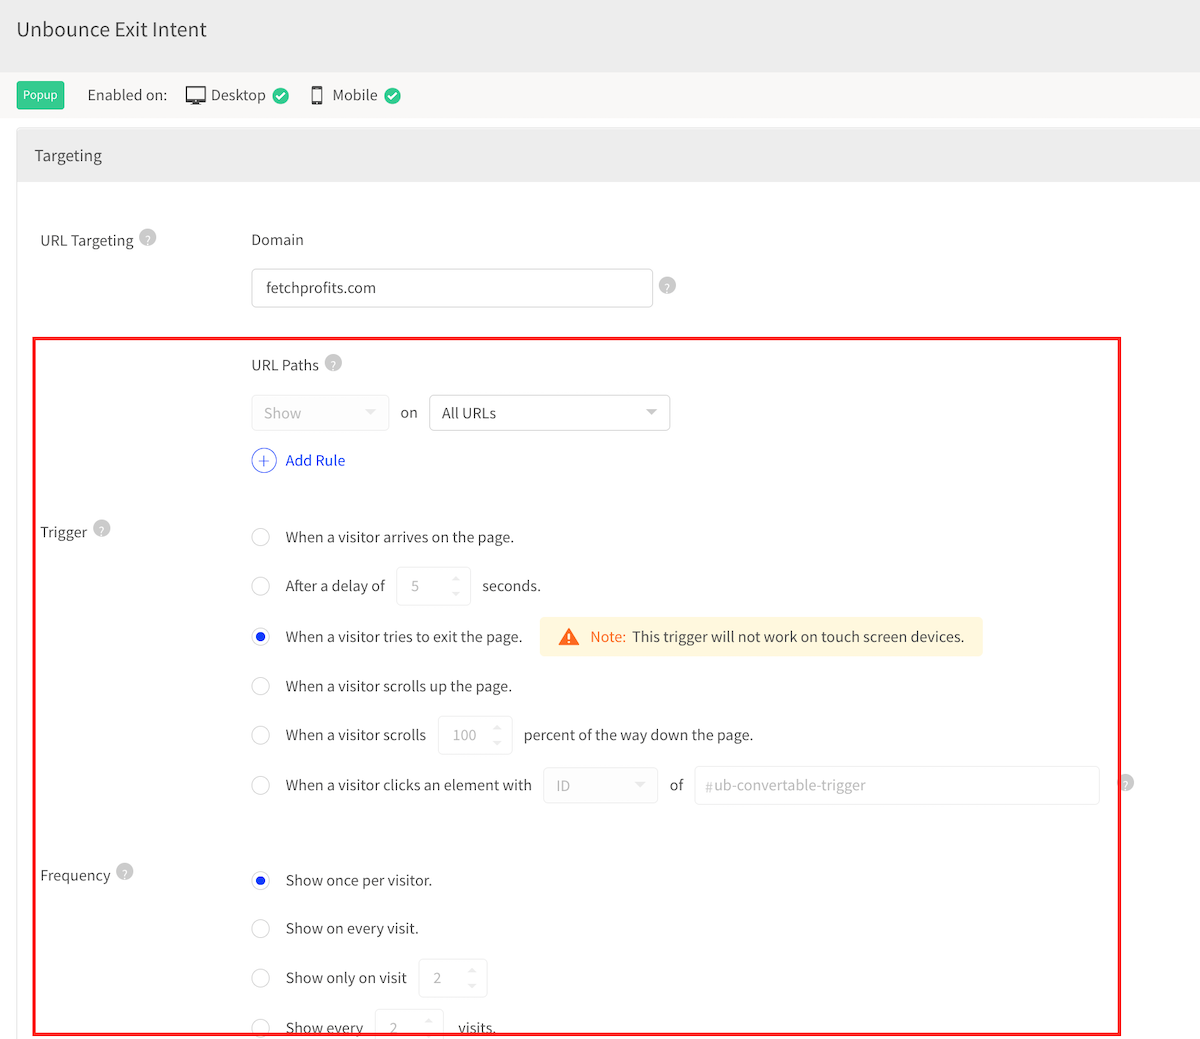
The only way you can tell if an Unbounce Popup is doing its job or not, or if it converts or not, is with the resultant conversion rate (Unbounce has A/B testing available for Unbounce Popups as well).
To know if you are doing great, you should let the data tell you. For that reason, create another variant and change one single element that you want to test.
For instance,
– Used an image of a man on your primary Unbounce Popup? Now, use an image of a lady.
– Test button Colors (Blue? Magenta? Purple? Red)
– Test Button copy (Get It Free Vs Grab This Now)
Unbounce clearly gives you a winner among the two variants.
Note: A/B testing is possible — and mandated — even if you have low traffic.
Measure, repeat, redo
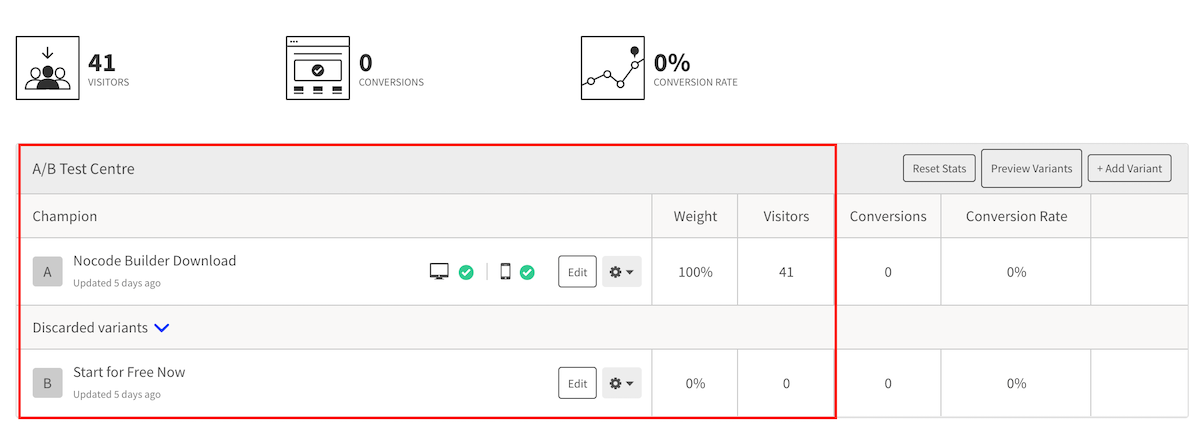
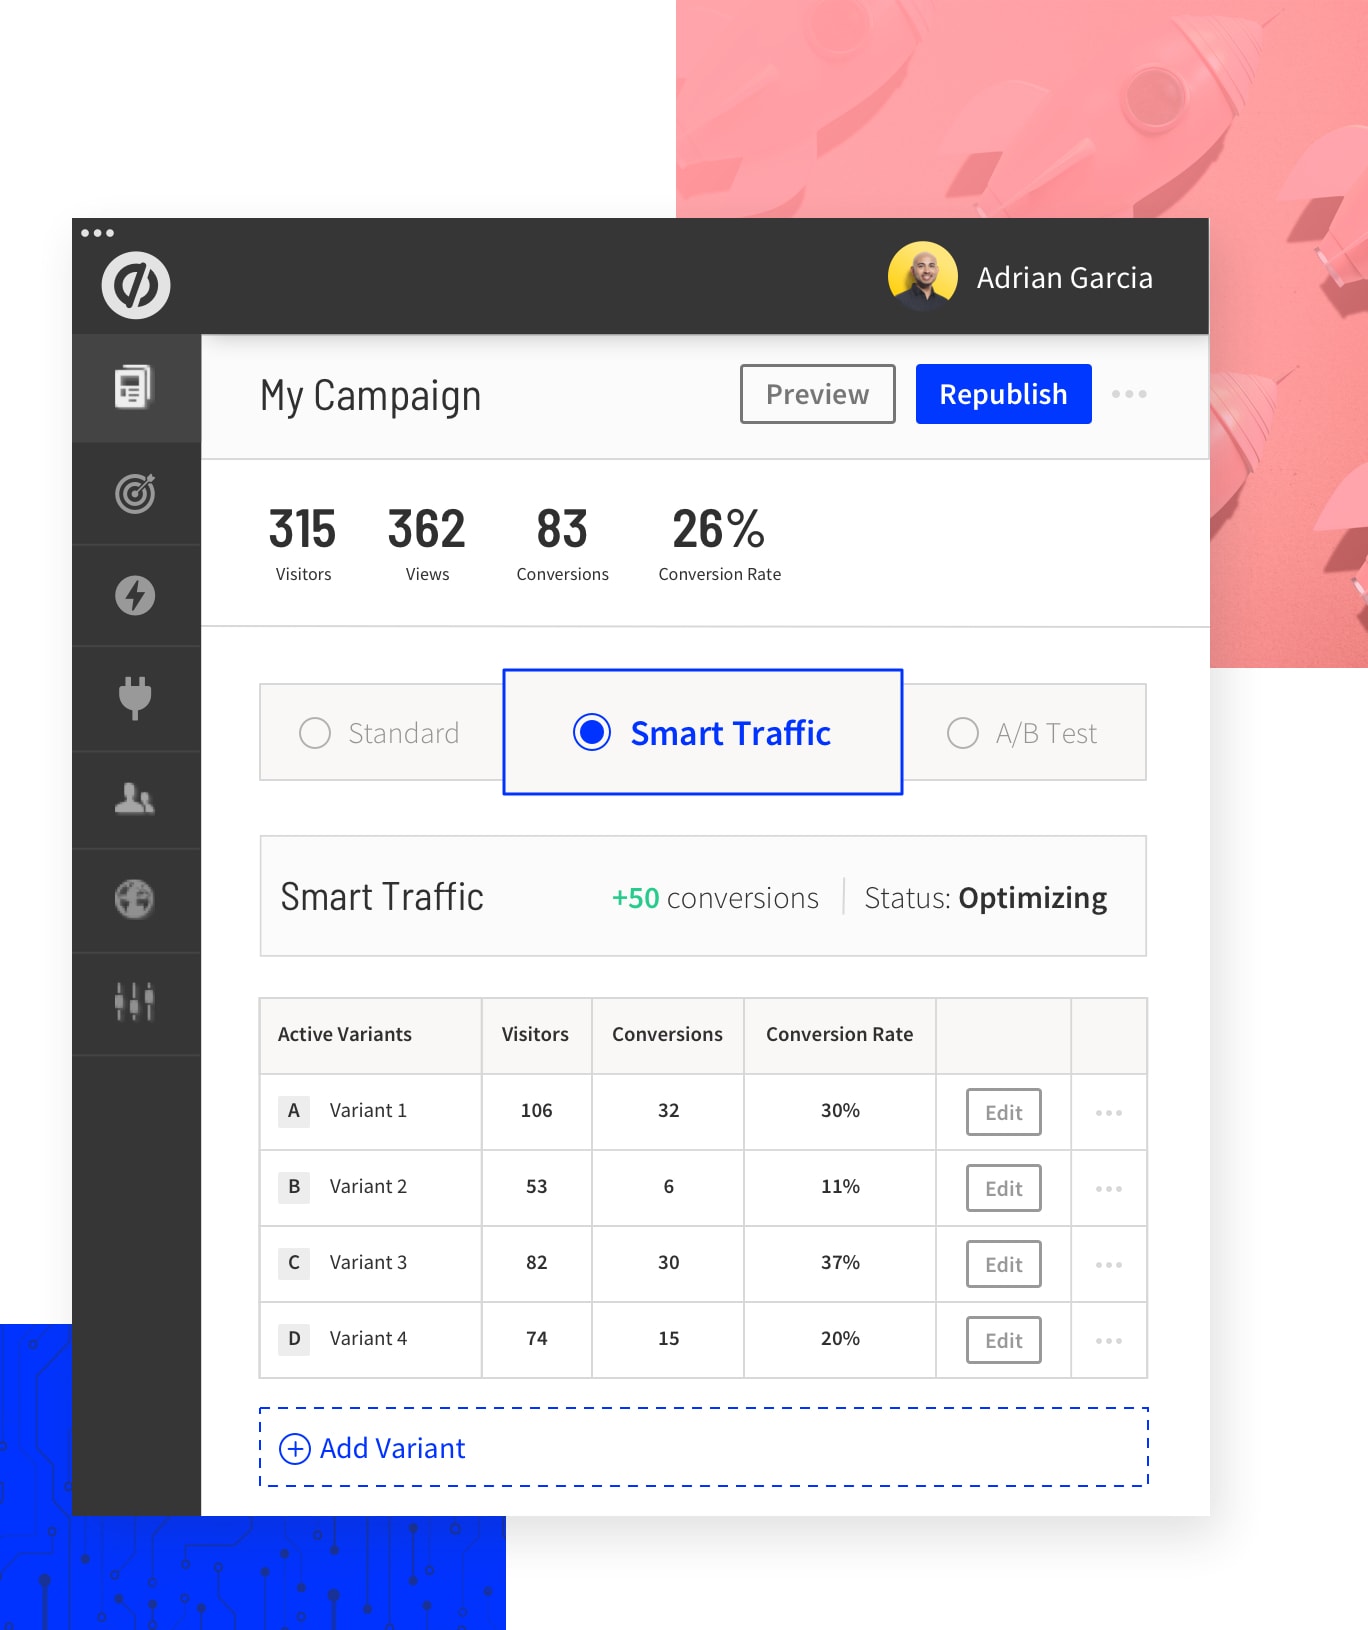
After a while, your Unbounce popup would have received enough traffic. You’d be able to see the results inside Unbounce (for each landing page, Sticky Bar, or Popup).
Keep a tab on results. See which of your variants are performing (Unbounce also gives you a “confidence vote” on the variant that Unbounce believes is working well for you.
Do you use Unbounce Popups or Unbounce landing pages? If not, what are the other landing page software you love? Or do you use other popups made with other tools such as OptionMonster and others? How are they doing? What’s your conversion rate?
Tell me all about it on Twitter, LinkedIn, or my LinkedIn Brand page.
