
Learn how to add a custom domain on Payhip since you want your store to be on brand and reflect your website URL.
Payhip is an incredible value for money (because you don’t pay any, and upgrades are optional).
Instead of the default Payhip URL such as https://payhip.com/fetchprofits , for Instance, you would want something like
get.yourdomain.com
learn.yourdomain.com
academy.yourdomain.com and so on
Watch the video for the walkthrough of how to add a custom domain on Payhip.
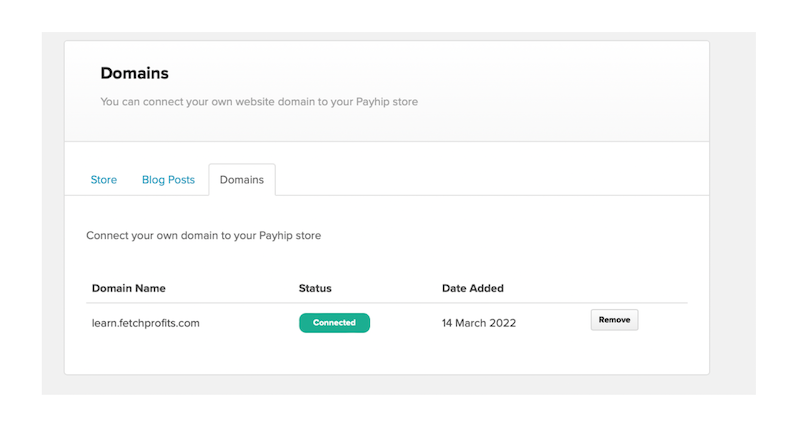
After you followed the instructions for setup. Get back to the domains tab inside Payhip.
Add the new domain you added (learn.fetchprofits.com) in my case to verify.
This is how the process looks like:
Total Time: 15 minutes
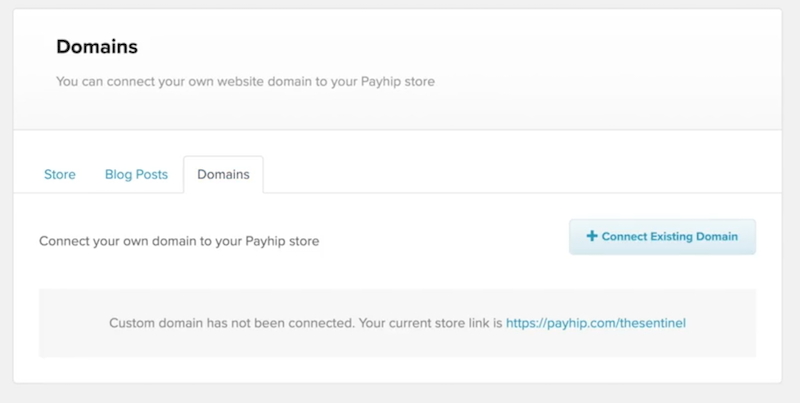
Note CNAME instructions from Payhip
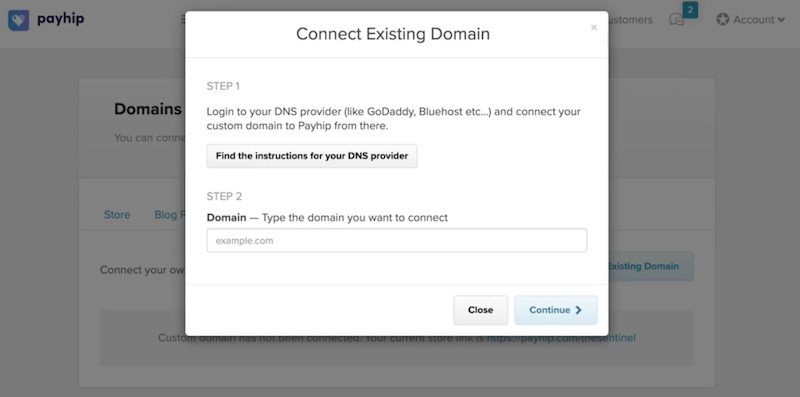
Get the exact CNAME record instructions that Payhip provides: it's usually something like domains.payhip.com -- copy this. After adding your CNAME record in your DNS, you'll have to get back to this page (as shown) and add "existing domain"
Go to DNS Zone, Login to Your Domain Name Provider
Go to your DNS Zone or Domain Management Zone (DNS) of your domain provider. Domain name providers like Godaddy, Namecheap, Cloudflare -- all have domain management interfaces where you can add several types of domain records, such as "A" record, "CNAME' record, and so on.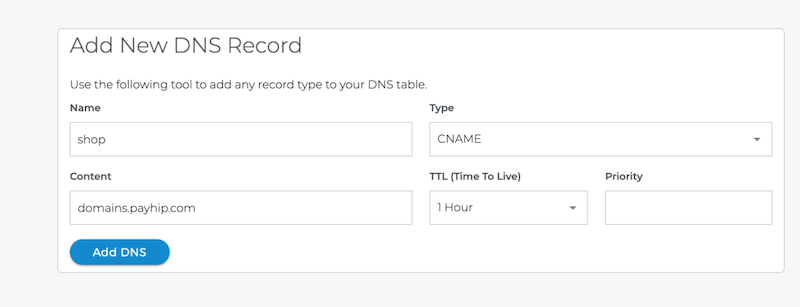
Add a new CNAME Record
"Add a new record". In our case here, we'll need to add a new CNAME record. The "Name" label will be exactly what you want your new subdomain to be (like get, academy, learn, shop, etc.). The "Target" will be domains.payhip.com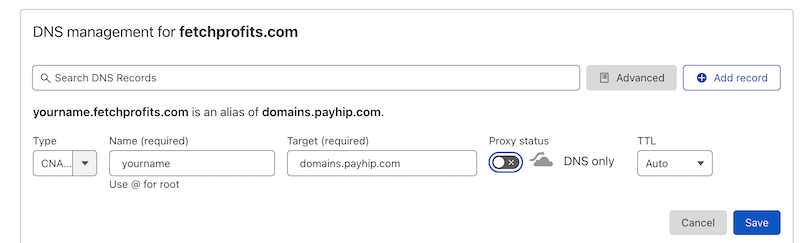
Add the record. Save it.
If you see anything like "Proxy" or any other options, don't use those. You don't need to toggle on anything more. Just hit save.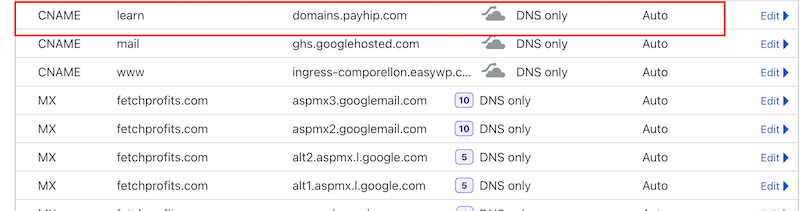
Login to Payhip
Once you are done creating and saving your CNAME record, get back to your Payhip Dashboard, click on "Store" tab, click on the tab called "domains".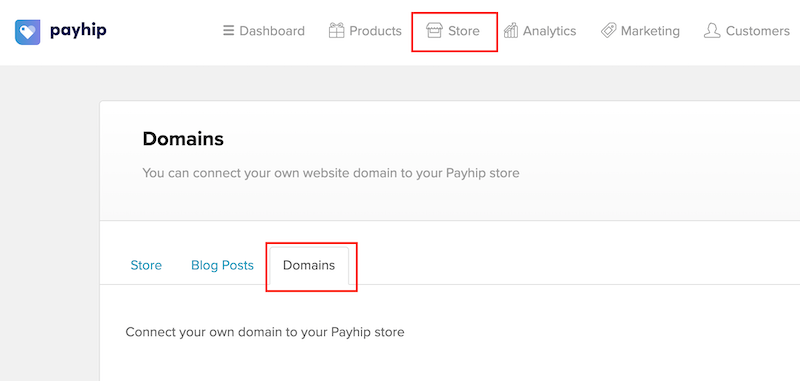
Type New Domain
Type in your new domain name. The complete domain name as you wanted it to be. For example, it should be yourname.yourdomainname.com (or learn.fetchprofits.com)
Verify your domain
The wizard within Payhip will automatically start verifying your new domain name. Assuming you got all of the previous steps right, you should see a "domain verified" status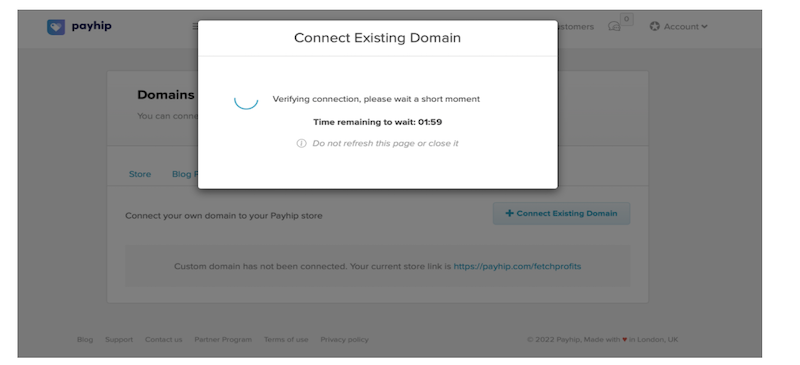
Success Notification
If your domain is verified -- and if everything is working as it should -- then you'll get a "success notification". Right there, on the screen. As shown...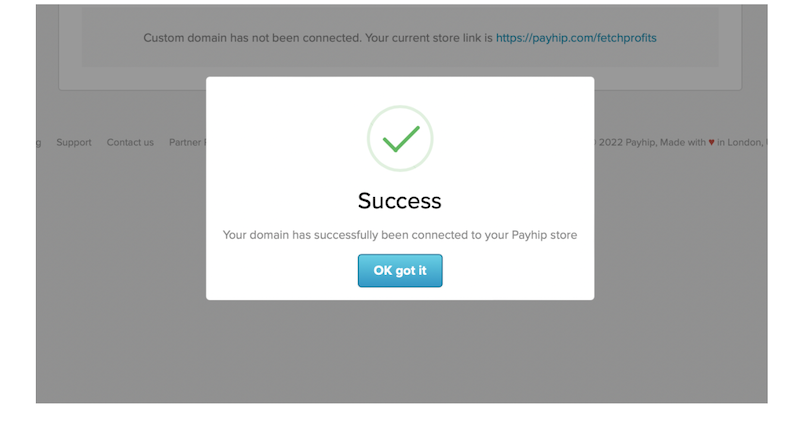
Go conquer the world
If the above is true, your domain status will show up there, under the domain tab as shown. For the actual URL or link to work, you might have to wait for the DNS settings to propagate. Once you have the link live, it's time to change the world
Get started with Payhip to sell eBooks, Coaching Programs, Membership sites, Recurring service subscriptions, online courses, other digital products (such as icons, illustrations, templates, music, art, and software).
You can also use Payhip to sell physical products.
Learn more about Payhip in this video:
Get Payhip now -- It's is free for you to start.
More resources:
Gumroad vs Payhip Pricing: Costs, Pricing, Explained
Feature Differences Between Gumroad & Payhip
5 Steps to Succeed With Selling Digital Products
