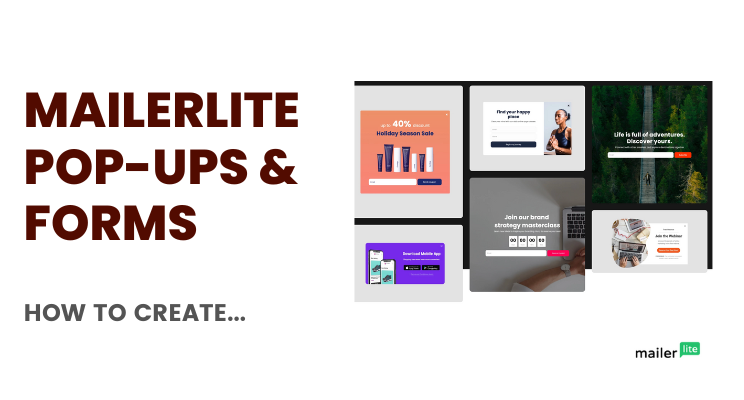
Wondering how to create MailerLite forms and popups with MailerLite? It’s the first step you’d take to start growing your email subscriber list and MailerLite makes it easy enough.
All you got to do, is to “do” it.
Before looking to create forms, get this: Elaborate forms (which require a lot more information upfront) are best done with WPForms, WordPress specific plugins like Jetforms or WordPress multi-step forms, and so on.
MailerLite forms are best used as quick lead generation forms.
Inside your MailerLite account, on the right hand side panel as soon as you log in, you’d find “forms”. Click on it and start clawing away at the opportunity to build the best lead generation and lead nurturing opportunity you ever get your hands on.
Of course, it’s not just MailerLite that allows you to create forms. There are hundreds of options (depending on how you are set up, the CMS platform you use, and maybe even default to Google Forms).
In the context of this post, by “forms” (which is what MailerLite calls them), I mean lead generational elements for your website.
These are explicitly lead generation pop-ups, embeddable forms, exit-intent pop-ups, and other such elements that you’d normally create with tools like OptInMonster.
Somewhat similar to this process is to learn how to create pop-ups with MailerLite. The difference being that pop-ups literally pop-up. Forms can be all kinds (including pop-ups).
Want to watch a video instead?
Learn:
How to Create Landing Pages with MailerLite
Step 1: Think about the big “Why”
I won’t get all Simon Sinek on you now, with the “big why” but I’d say this: no one is going to sign up (for anything) unless what you offer is low-friction.
By that, I mean you got to have something of value to give away. Much like a lead magnet, a coupon code, or any other irresistible offer you can make.
Depending on your business, think of an offer to make first. No one’s signing up without that sweet, this-is-too-good-to-miss offer.
Login To MailerLite, Go to Forms
Within MailerLite, on the dashboard to the left, look for “forms”. Clicking on it will reveal a page with all the options you need to create relevant forms, opt-in forms, exit-intent forms, embeddable forms, and so on.
Start with one of the forms. I’d recommend start with at least one general form (which shows up on your website). if you have an active blog, I’d also recommend creating an embeddable form which sits right inside blog posts (such as this one) — shown at least once or twice per blog post
Read:
Should I Use Pop-ups On My Website? [Let’s Bury This]
Note: You don’t need to have opinions about forms and pop-ups. All you need is that they work and they give you results.
Create Forms (from scratch or using Templates)
MailerLite offers several templates for forms to help you get started wit: use one of those. Or, start right fro scratch and build new forms with mailerLite.
Keep the design simple, effective, and succinct. Each form is built for a specific reason, and should contain only one single call to action.
Read:
Call-to-action Examples For Inspiration
Create “Thank You” Pages
What happens if and when someone signs up for your sweet offers? Normally, you’d be shocked to know that “nothing happens”.
You don’t want that.
You want to make this process just as important and critical as eCommerce checkout is, for instance. Leads matter.
First impressions with the sign-up process, what they get “after” signing up, and the ensuing email marketing automation or anything you deploy is what turns your casual leads into customers for life.
The need of the hour then is to use smart “Thank you” pages. Interstitial pages that show up after a casual browser signs up for one of your offers.
Use a landing page, a page on your website (dedicated page for all leads), or just the default page that you can create with MailerLite (shown after someone signs up).
Read:
Embed, Link, & Integrate Forms With Website
After creating your form (and when it’s ready), you can share the form as it were. Maybe you can create ultra-specific MailerLite landing pages (use them as standalone pages or in addition to the MailerLite forms just created).
Use the URL of the form (be sure to add UTM parameters to track) to link anywhere (in the nav menu, within blog posts, links in other content, and so on).
Or, pick the javascript code (especially for pop-up forms) and integrate with your website (by adding the code there) so that your website and MailerLite are connected.
If you use Shopify, the process is the same.
Learn:
Do you deploy opt-in forms and other lead generation elements on your website?
Tell me all about it on Twitter, LinkedIn, or my LinkedIn Brand page.
Do you use MailerLite? Get yourself an account and start for free.

